Back to basics: What is aperture and how can I use it in my photography

In the first of the Back to Basics series of posts we looked at what the numbers on the front of your lens stood for and we came to the conclusion that these help us to understand the lens' focal range and maximum aperture at any given focal length. This led to the question of " What is aperture and how can I use it in my photography???

Keeping things simple, aperture is essentially the size of the opening through which light passes and is a function of the lens. There are a series of blades inside each and every lens which based on either a value you dial in (In aperture priority and manual modes) or which the camera sets (In Shutter Priority) constricts or dilates to effect the amount of light entering through the lens and onto the sensor of the camera.

We can get very technical on this but I'll keep some of that for later on.

Yes, the aperture (opening through which light passes) controls the amount of light entering through the lens but this is not the most important aspect of aperture.

Depth of field

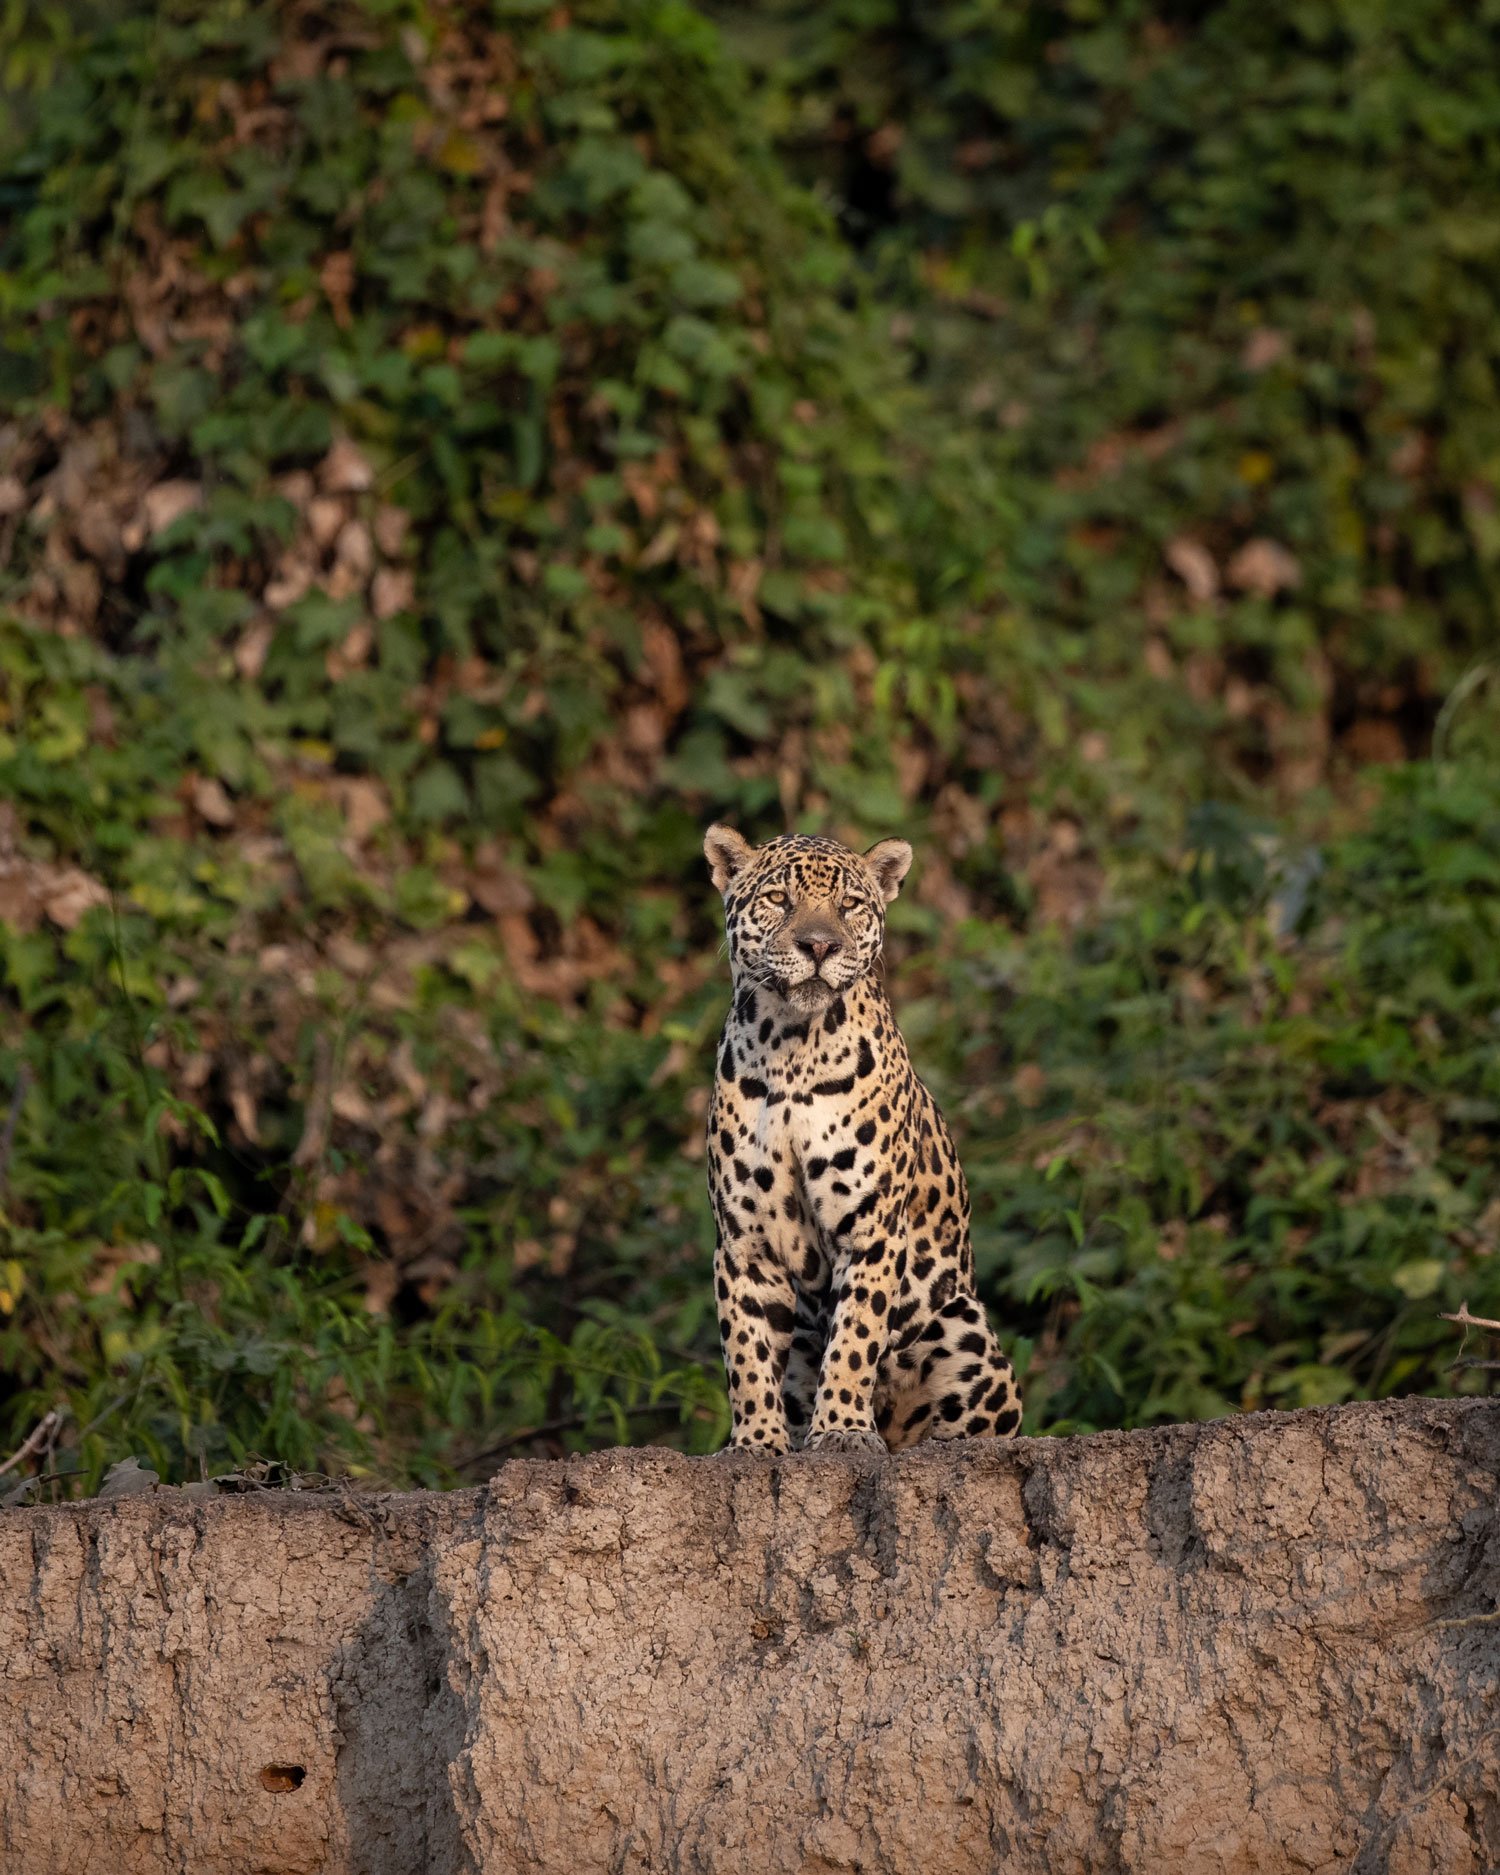
Aperture, through changing the manner in which light passes through the opening, ultimately determines how much of a scene is rendered as being sharp and in focus and how much is soft and blurred. This range of acceptable sharpness is what we refer to as depth of field and is one of, if not the most powerful tools you have as a photographer.

Essentially, you have the choice to either completely isolate your subject from a busy background (Shallow Depth of Field) or include more detail in the background (greater/larger Depth of Field).

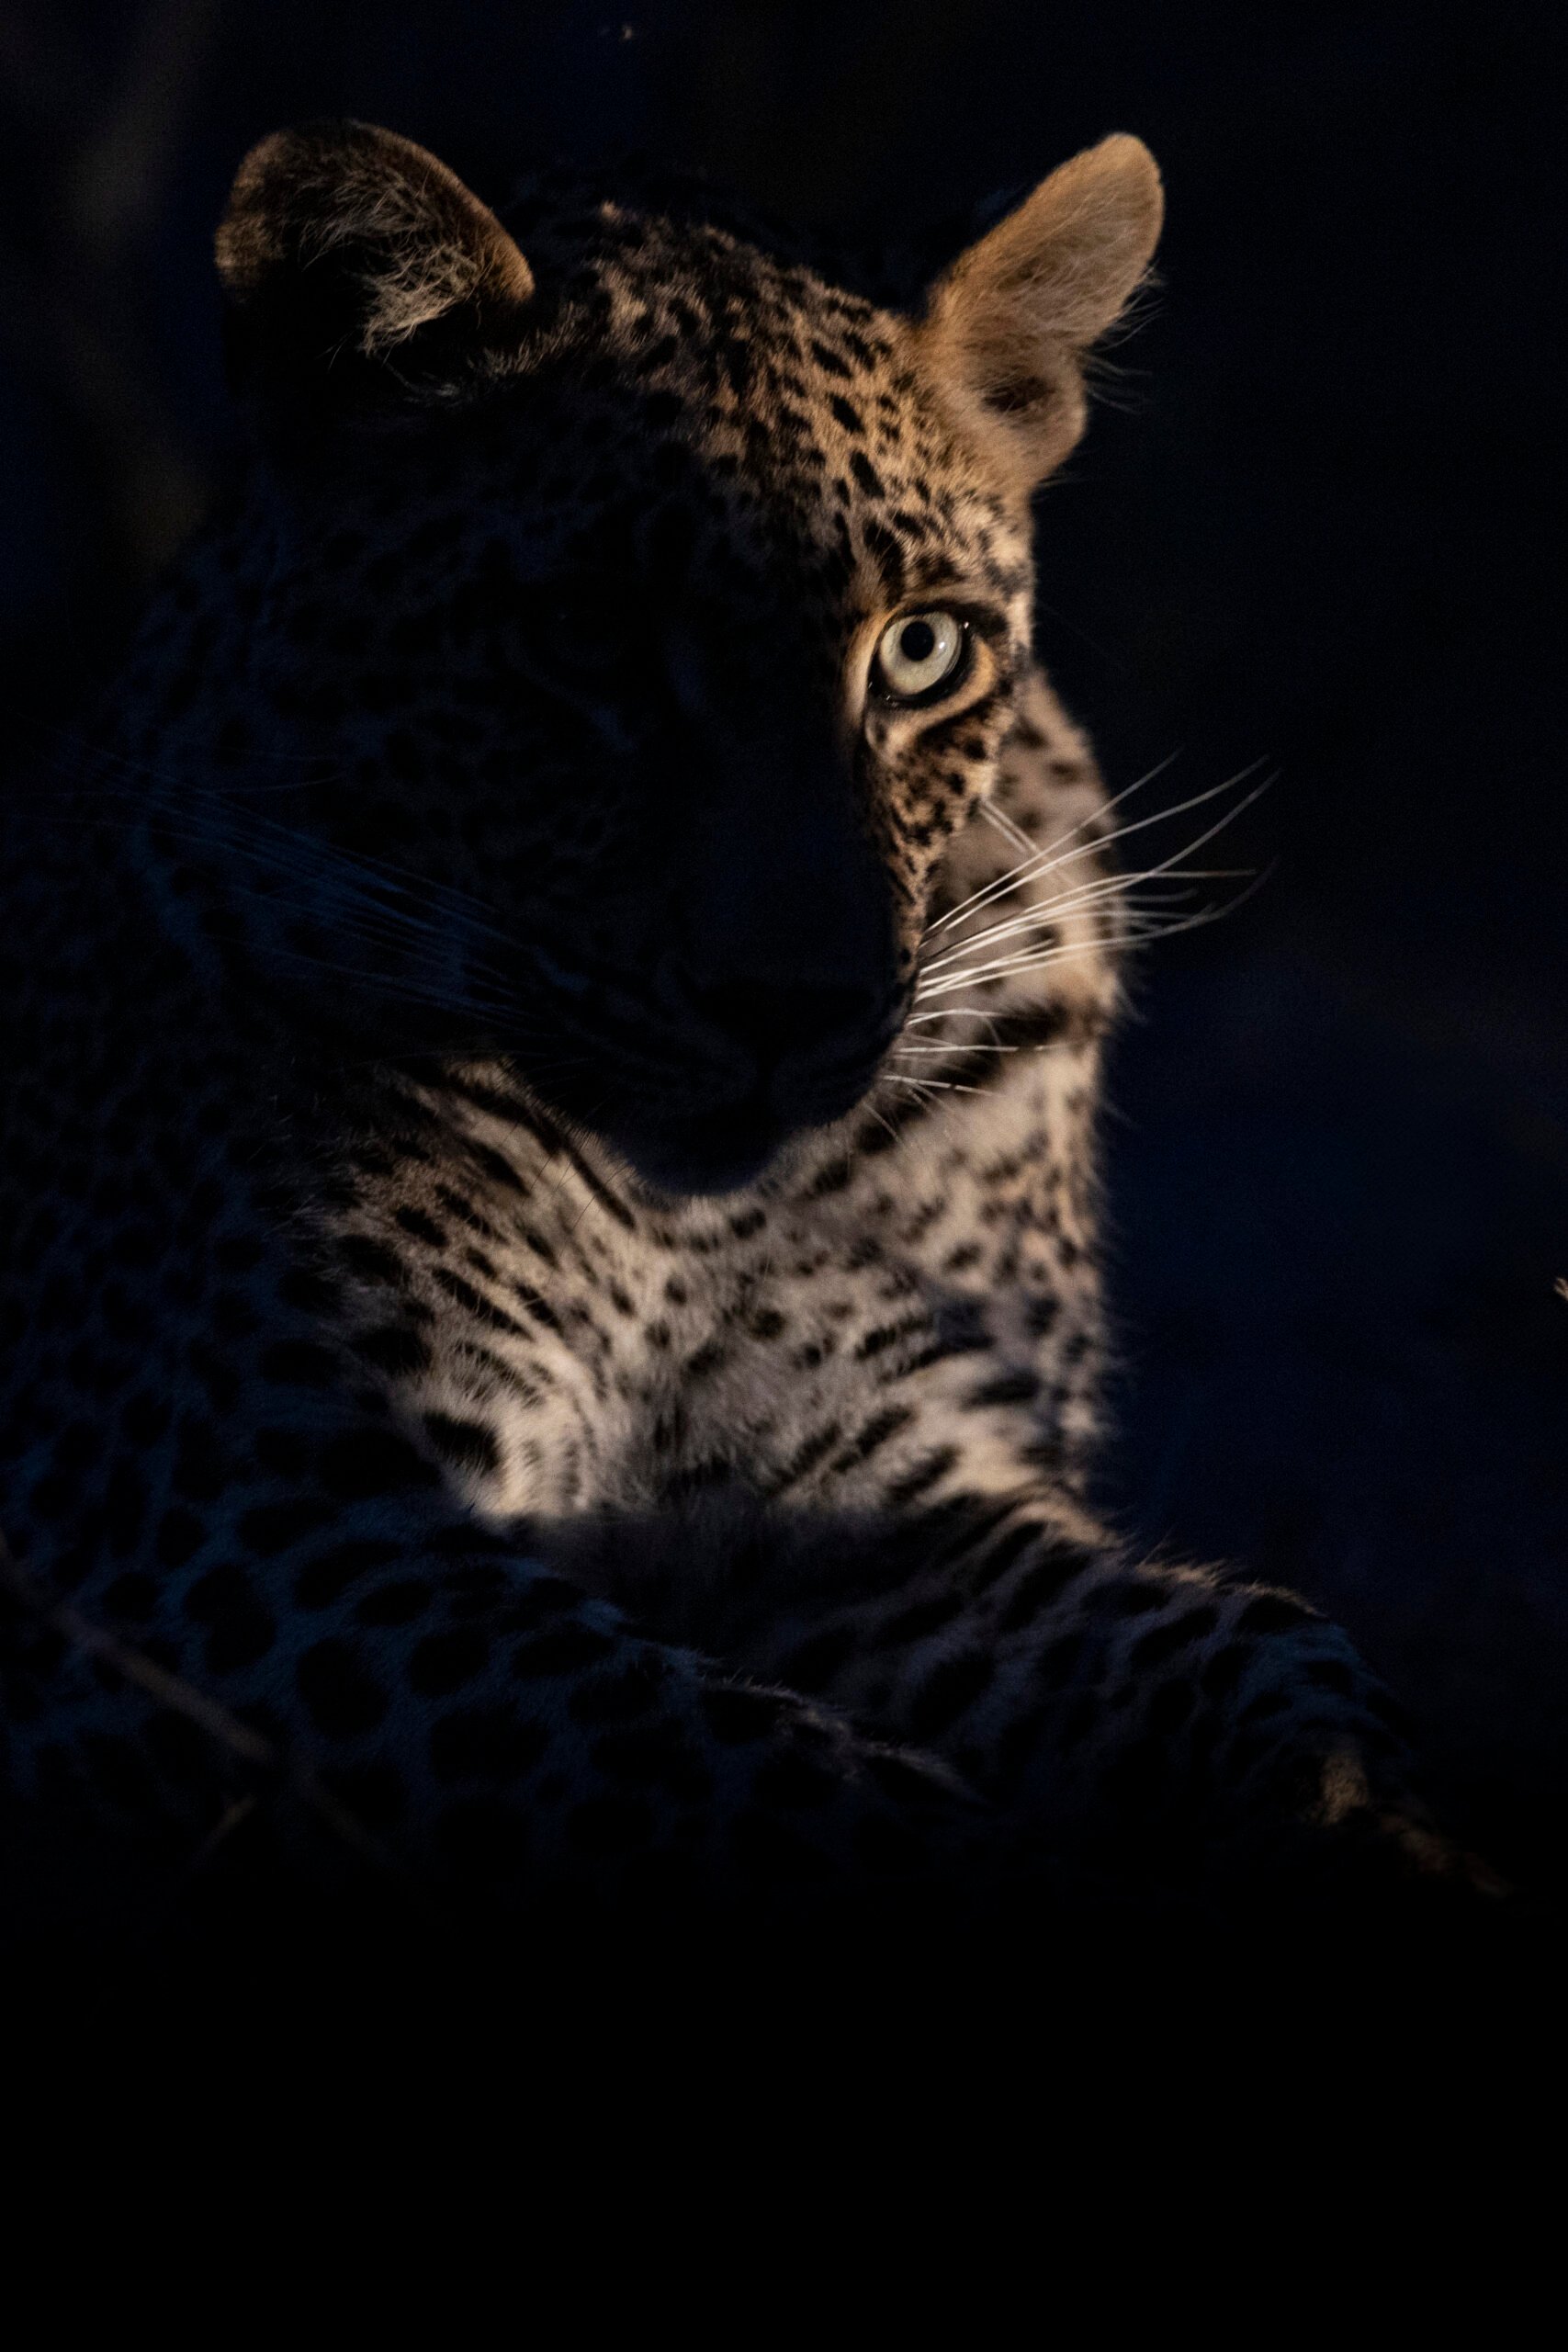
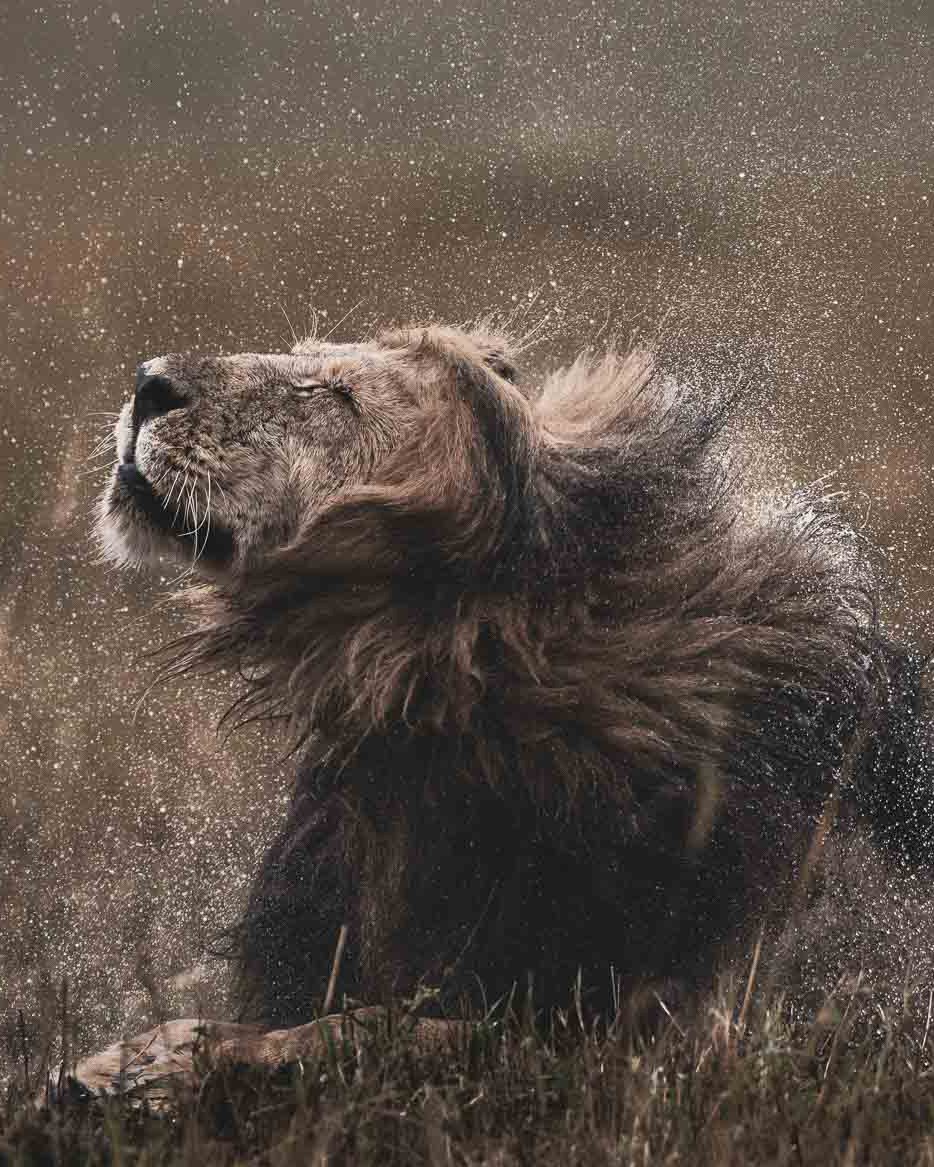
Shallow Depth of Field at F/2.8

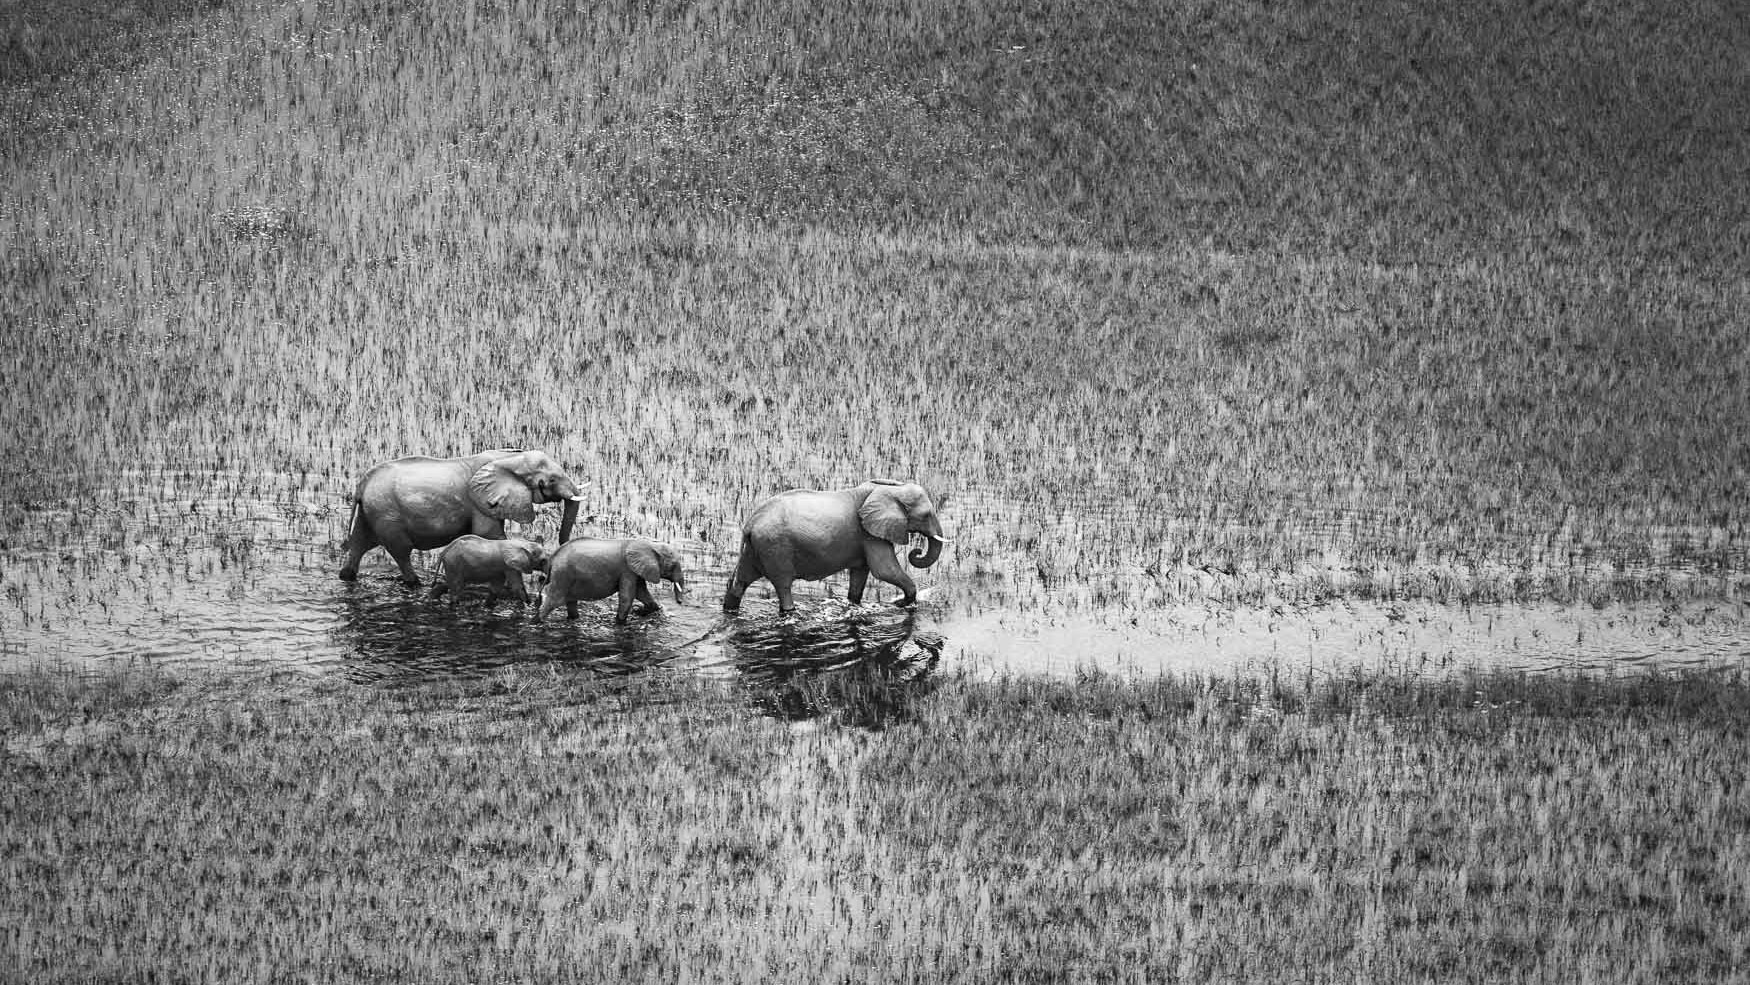
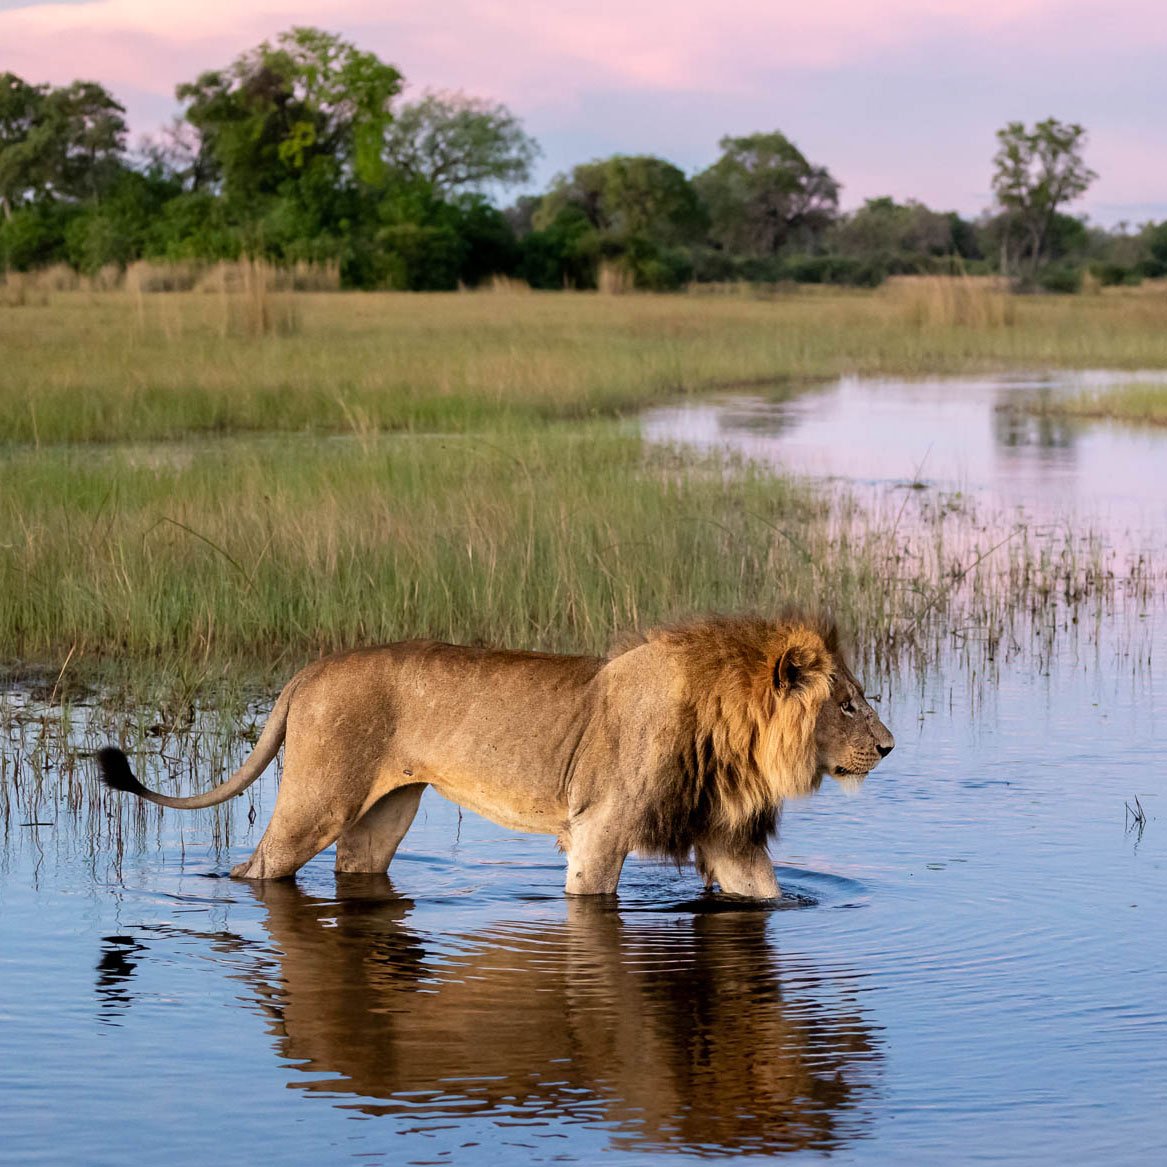
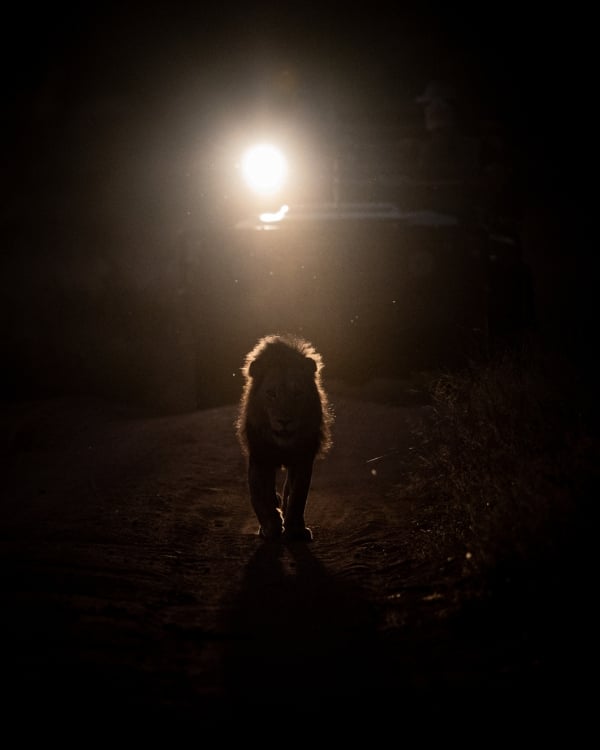
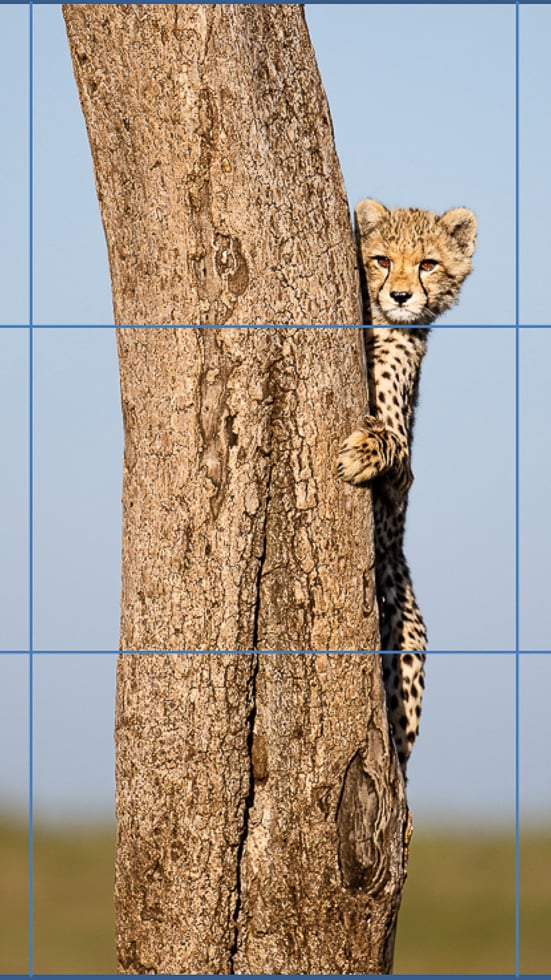
Notice how much depth there is in the second image compared to the first image where only a small portion of the scene is sharp and in focus?

Small number = Shallow Depth of Field
Large Number = Greater Depth of Field

What are the factors that effect my Depth of Field?

1. Your Focal Length

Greater focal lengths (eg 400mm) essentially compresses a scene and result in shallower depths of field when compared to wide angle lenses (eg 35mm). F8.0 on a wide angle lens may give you a couple of meters of DOF on a 16mm lens whilst F8.0 on a 600mm lens may result in a DOF of a couple of centimetres.

2. Your Aperture setting that you have chosen

A small F/stop results in a shallow depth of field

A large F/stop results in a greater depth of field

3. Your proximity to the subject

A bit like focal length really but the closer you get to your subject, the shallower the resultant depth of field given a constant aperture. Think about macro photography where even aperture values of 22 result in a fraction of a centimeters worth of DOF. This is because of the combination of focal length (usually 105mm) and the proximity to the subject (usually a couple of centimetres).

4. The distance of your subject from its background

The further away the background is from the subject, the more blurred the background is going to be.

Aperture

Taken with a focal length of 500mm and an aperture of F/8. Sitting in an underground hide allowed us to get within 3 metres of this bird. The vegetation in the background was also a fair distance away from the edge of this waterhole. The result - a perfectly blurred out background and most photographers going weak at the knees!

It should make sense now why lenses with a maximum aperture of F2.8 and F1.8 are so popular for portraiture and wildlife photography. The small number (Maximum aperture which infact represents a large opening) allows for beautifully blurred backgrounds (and foregrounds) which isolates the subject from the background.

However, these lenses come at a cost and are not always accessible to everyone. Understanding that you can maximise the blur (achieve a shallow depth of field) by dialling in the smallest number possible, getting as close to your subject as possible and zooming in as much as possible will help you achieve similar results even at a maximum aperture of say 5.6.

Since everything behind your subject becomes progressively more blurred the further away it is, it also makes sense that you place your subject as far away from the background as possible to try and blur it out as much as possible.

Does the DOF start at the exact point where Focus is Achieved?

Yes and no. Once the camera has achieved focus, the point where focus has been achieved will be inside your range of acceptable sharpness. However, the total DOF is actually distributed 1/3 in-front of this focus point and 2/3 behind this focus point. It looks something like this:

Aperture

So, it is vital, especially when you are shooting with larger focal lengths or are very close to your subject that you focus in the EXACT right spot to ensure that your subject is rendered sharp and in focus.

This also gives you something to think about in terms of where you should focus if you have multiple subjects at different focal planes (e.g. two people standing behind your first subject). Would you choose to focus on the front or back subjects?

Think about it, and feel free to contact me with your thoughts!

That leads us to the next topic:

How does the camera achieve focus and how can I control this?

Masai Mara Wildlife Photorgrapy Workshop

Are you enjoying the "Back to basics" series thus far? Michael Laubscher and Johan van Zyl will be covering these topics in detail during The Masai Mara Wildlife Photography Workshop that they are hosting later on this year.

Why not join them??

Leave a Reply

Your email address will not be published. Required fields are marked *