Lightroom is without a doubt the most widely used and powerful post-processing and cataloguing software on the market. Over the years I have become intimately familiar with the software and have found a really great rhythm and workflow when it comes to sorting through, categorising and editing images.
Whilst there are many, many shortcuts that you can use to speed up your workflow in Lightroom, I thought I'd take the opportunity to share my top 5 most used and most useful Lightroom shortcuts before giving you the opportunity to download a full list of more than 30 useful Lightroom shortcuts.
1. Hiding the Side Panels
Hitting the "Tab" key whilst in the Library Module will hide the side-panels and give you more space to view your images whilst in the Grid view. Given that the vast majority of people are using their laptops to download and sort through images whilst on safari this is a very handy tool when it comes to making the most of the space available to you, especially when you have a smaller and more compact computer and screen.
2. Visualise Spots
Have you ever found yourself grabbing the spot removal tool (Q) and trying your best to remove that annoying spot on your image only to find that its actually your dirty screen? No amount of spot removal will work on that!
Whilst the spot removal tool (Q) is active, if you hit "A" you'll have a view where hard edges are shown, very much like when you mask out in sharpening (you do use the masking slider when sharpening right?).
In the bottom left of the window you'll find a slider which will adjust the sensitivity of Lightroom to outlining or detecting the edges/spots on your specific image.
3. Alternate between Landscape & Portrait Orientation
Thanks to Instagram stories you now have a use for portrait orientation images! *Kidding
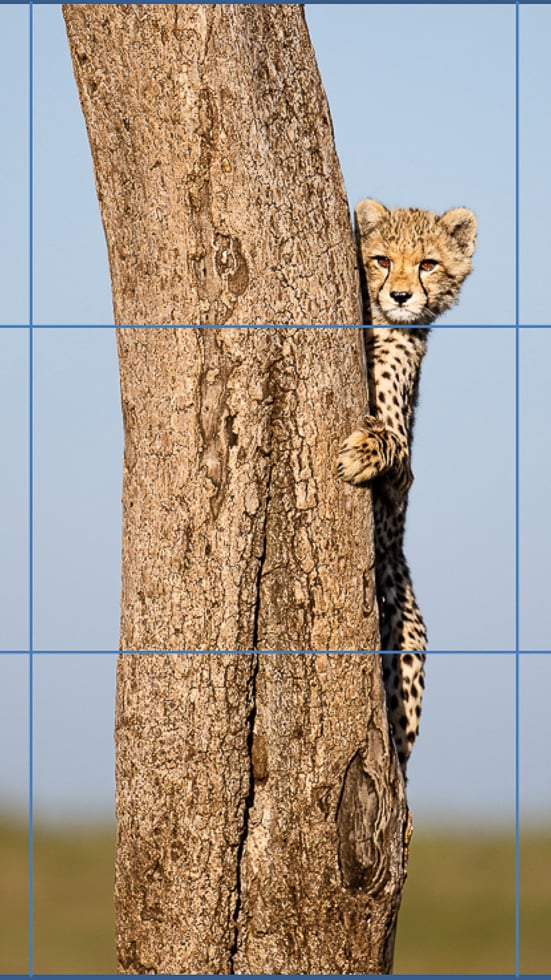
When using the crop tool (R) it is very easy to alternate between landscape and portrait orientation by simply hitting the "X" key to rotate the frame by 90 degrees.
4. Zoom in to 100%
Ever wondered whether that awesome image of yours is sharp? Regardless of whether you are in the Library or Develop module you can very quickly zoom into 100% by using the "Z" key. Remember that it may take a bit of time for the image to resolve properly depending on the type of previews that you have chosen to build when importing your images.
5. Reveal Shadows and Highlight Clipping
If you're worried about loosing details in the shadows and highlights of your images you can obviously keep a close eye on your histogram but, by hitting the "J" key you'll enter a view where areas where detail has been lost in the darks/shadows are revealed in blue, whilst areas where detail has been lost in the bright/highlights are shown in red.