When it comes to increasing one’s knowledge in photography there are a number of ways to go about it. A problem that I had was trying to learn too much at once. My suggestion would be to break it down, take it one step at a time and only once you have a good understanding of one specific element then move onto the next.
In this blog, I am going to single out and tackle metering modes. It is another part of photography that is quite tricky to understand at the beginning but its all about taking it one step at a time and grasping the concept.
What is a metering mode?
What is the difference between the modes?
When should I use what mode?
Knowledge is power and I guarantee you that if you get a handle on the metering modes you will notice a huge improvement in your images.
With modern technology, cameras these days are incredibly smart BUT, that doesn’t mean that our job as a photographer has become easier, in many situations we need to “TELL” our cameras how to photograph the scene or subject in front of us. We need to tell our cameras how to expose correctly and this is where metering modes play an important role.
There is plenty of great information online regarding metering modes but not too much relating to wildlife photography specifically.
Firstly, lets get familiar with all the metering modes:
- Spot metering
- Partial metering
- Center-weighted average metering
- Evaluative/matrix metering
What they look like on Canon and Nikon
I am going to break down the two metering modes I use most often, and make the association with wildlife photography.
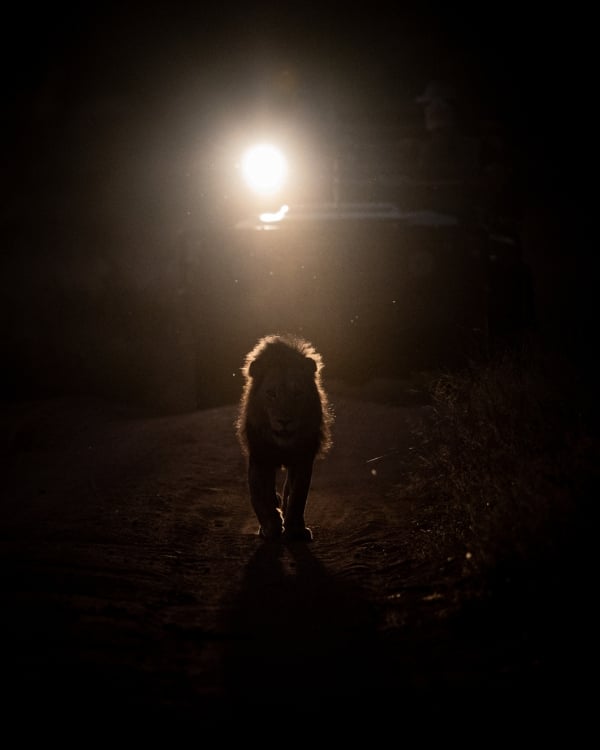
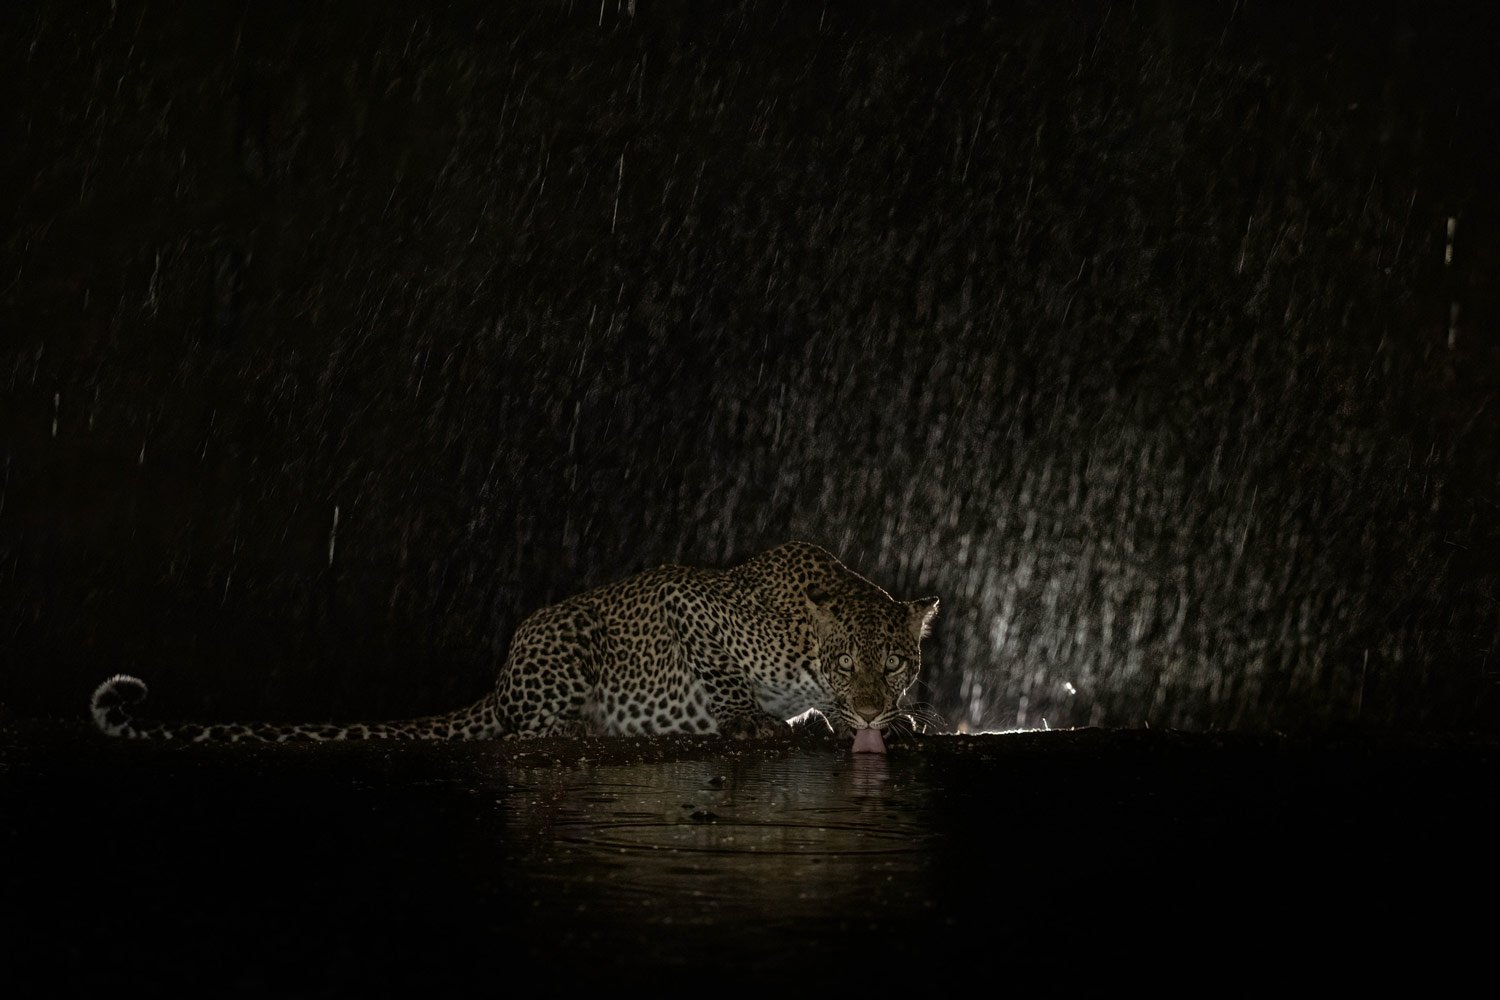
For 80%-90% of the time Evaluate/Matrix metering will be ideal, having said that there will be times that you need to change to spot metering. This is generally when the light is quite difficult to manage, for example, when an animal is walking through patches of light and you want to draw all the attention to the subject or at night with the use of a spot light.
What is metering exactly and why is it important to understand the different modes?
All cameras have a sensor built in and a secondary sensor which reads the light that is filtering through the lens and makes the necessary adjustments to create the image that you are seeing with the naked eye.
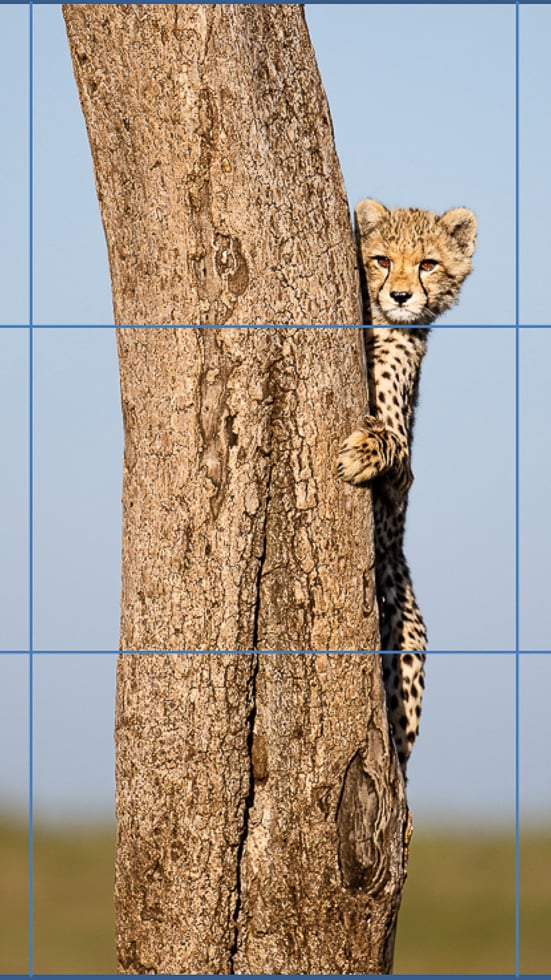
Something to remember, the different modes assess the different zones that you see through your view finder, for example on evaluative mode 60% of the image is determined from the middle of the image and the rest from the corners.
An important thing to remember is where your focal point is. The camera will assess all the different zones but identifies the focal point as the main zone.
Take a look at this image below which will give you a good visual representation of what the different metering modes are assessing through the view finder.
Each metering mode reads and uses or assesses the light differently and so we need to adjust this according to the image we are trying to take. Like I mentioned earlier, for the majority of my images I use evaluative/matrix metering but it is still very important to understand the other modes and when to use them to maximize your results.
Essentially, what these modes are doing is taking readings from different areas of the sensor and making internal adjustments to achieve the best exposure. Bar Spot metering, the other modes are very similar in the surface area they cover in assessing light with slight and minor differences between them. You will however notice the difference when switching to Spot metering. Spot metering is very precise and has a very small area that assesses the lighting.
To give you an idea, when set on spot metering only 1,5% - 10% of the frame is being assessed, whereas if you look at evaluative metering roughly 80% is being processed. This tells us that if we set our cameras on spot metering there is a higher chance of messing up your image if the image you are trying to capture isn’t 100%, whereas using evaluative metering the success rate of capturing a good image is much higher. This also helps us as the light starts to die and the spot light is plugged in. This is generally the time that one would switch from evaluative metering to spot metering, the reason being that we are now only wanting to assess and use the light from the spotlight on our subject, having said this the results on evaluative metering will still be very good if not changed.
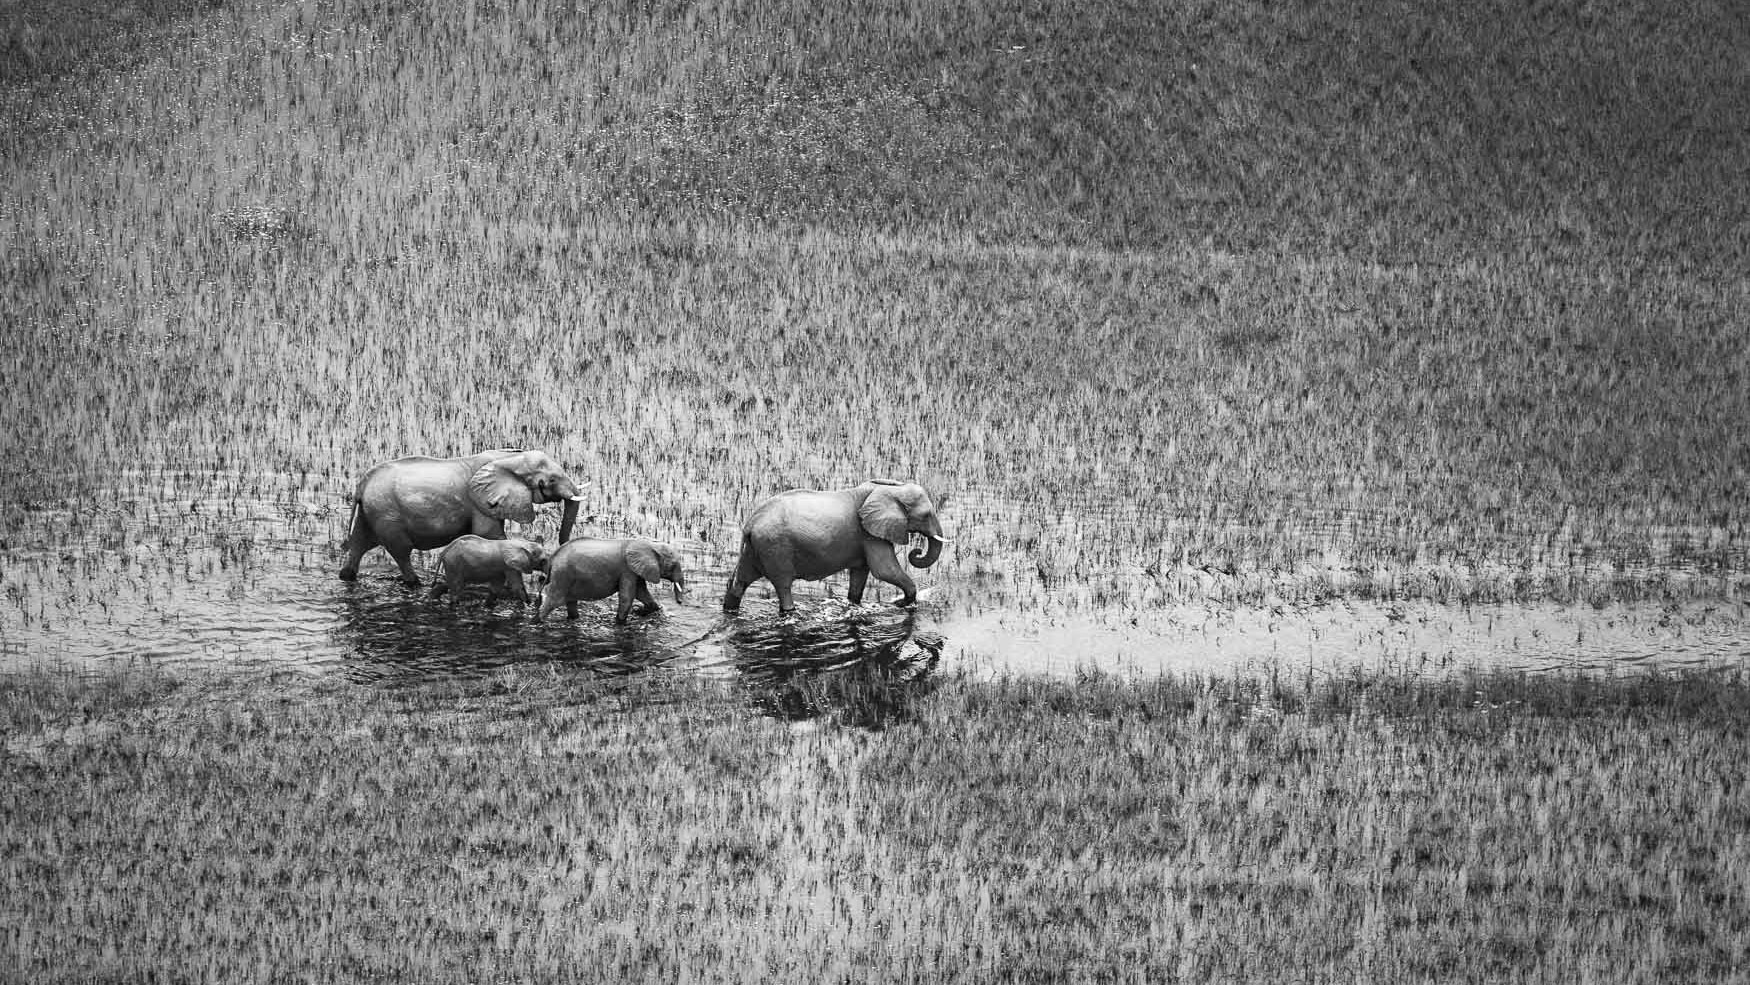
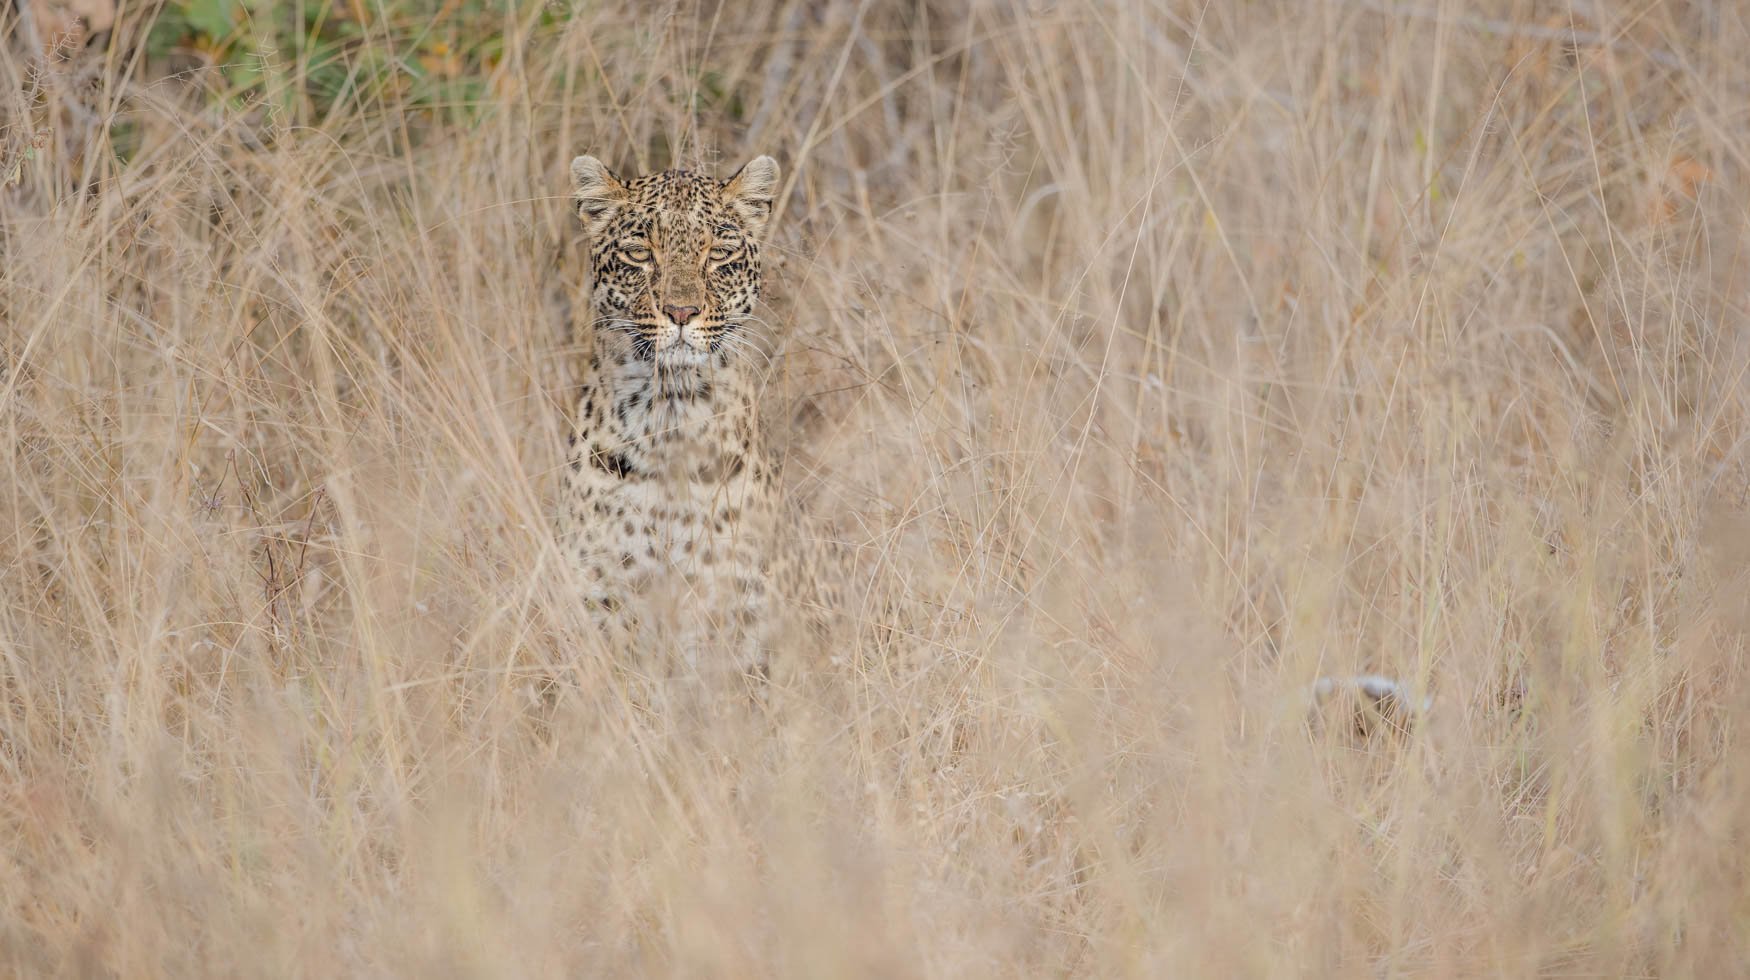
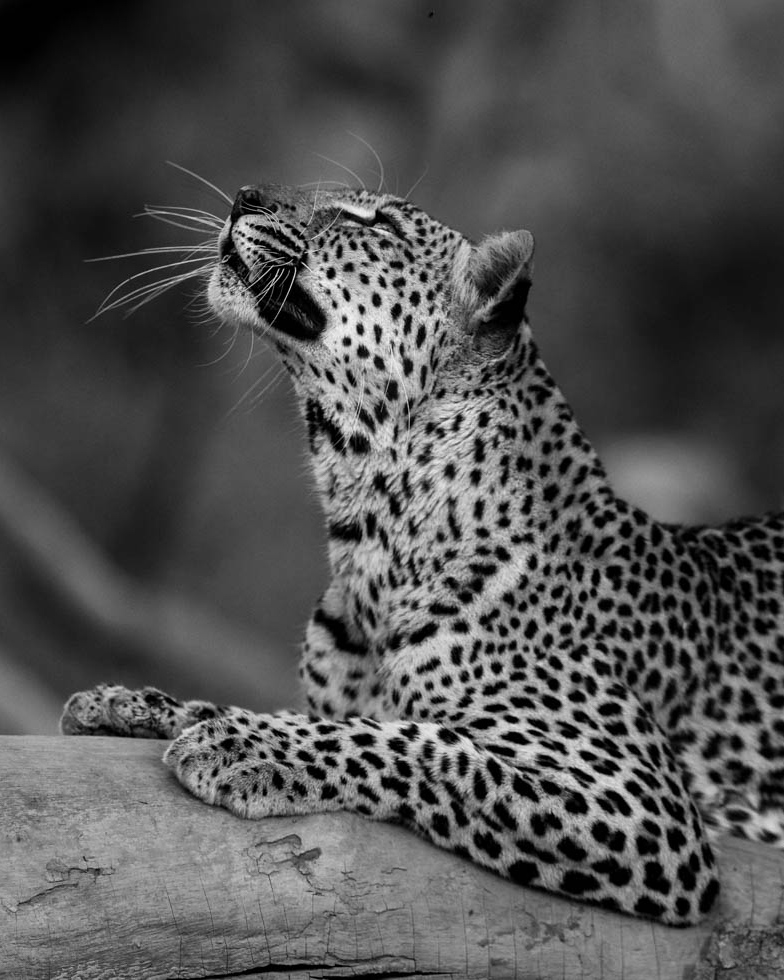
As I have mentioned above, for the majority of my photography, my camera is set to evaluative/matrix metering and in the above photograph you can see how well it worked. It assessed majority of the image creating a realistic image of what was really seen through the naked eye.
This doesn’t mean I’m saying that you should leave your camera on evaluative metering and shoot away, it is just something to be aware of and the strike rate drastically increases if you understand metering and have the correct mode for the situation.
Without bombarding you with huge amounts of information my suggestion is to pick up your camera, go outside and play around with the different modes.
Take photos in patchy light, golden light and even take a flash light and photograph at night. You don’t need to have a specific subject as the purpose of this exercise is to get an understanding of the different modes, not to take an award winning photograph.
By playing around and gathering the knowledge of all the above, I guarantee you will see a drastic improvement in your wildlife images.
So get out there, have fun and practice, practice, practice.
Cheers for now,
Trevor
Thanks Trevor! Appreciate your help! Very practical and minus the jargon! Found it quite relatable. Thanks again!