What is Panning and Radial Blur? Why would we want to do it?
Panning and Radial blur are photographic techniques which revolve around slow shutter speeds and movement. It requires a lot of practice and patience but is really fun to play around with especially when light is not on your side.
In this blog, I am going to discuss the principle of these two techniques as well as share some tips and settings to help get you started.
There are two methods to be able to successfully attempt these two techniques - One being AV/A mode and the other being TV/S mode. What is the difference between the two modes?
When manipulating your camera and adjusting settings to play around with these two techniques, you need to have two different mind sets for the two different modes.
I prefer using AV/A(aperture priority) and the reason is - I take 80% of my images using aperture priority so to keep myself from getting confused and getting irritated in the heat of the moment because I am hacking through my settings, I prefer to do as much as I can in the same mode.
First thing I do is:
Push my Aperture(F-Stop) as high as it can go. What this does is automatically slows down your shutter speed and ideally you are trying to get your shutter speed to be 1/60 of a second or less (all depends on how fast your subject is moving) - the slower your shutter speed the more dramatic the image will be. If increasing your aperture doesn't slow down the shutter enough, you can then start to manipulate ISO(light sensitivity) and bring it down as much as you need to depending on the light conditions at the time.
Using TV/S(shutter priority) one needs to change the mind set. The first thing you would do is bring down your shutter speed by manually using the dial until you are once again 1/60 of a second or less. This process can get confusing because you need to first change your mode(if you were shooting on AV or manual mode to begin with) and then start to perform the adjustments needed in these two techniques. Normally I will lower my shutter speed and then lower my ISO to about 200 before I look at doing anything else.
With both these modes one important thing to remember it to change your focusing to - AI SERVO/AF-C to continuously focus as the animals are moving, along with that remember to have your camera set on multiple image/burst mode to ensure you can take multiple images.
So that is the basics between the two modes and the first steps I would take when using either mode. Those were the easy steps. Now, it comes down to performing the actual technique. Lets tackle them one technique at a time. I would advise using the first one i mentioned, aperture priority.
Panning:
So, this all depends on the subject and how fast it is moving, this is where a bit of luck comes into it because you are guessing your shutter speed according to how fast the subject is moving(in time you will start to get a feel of what works best and when).
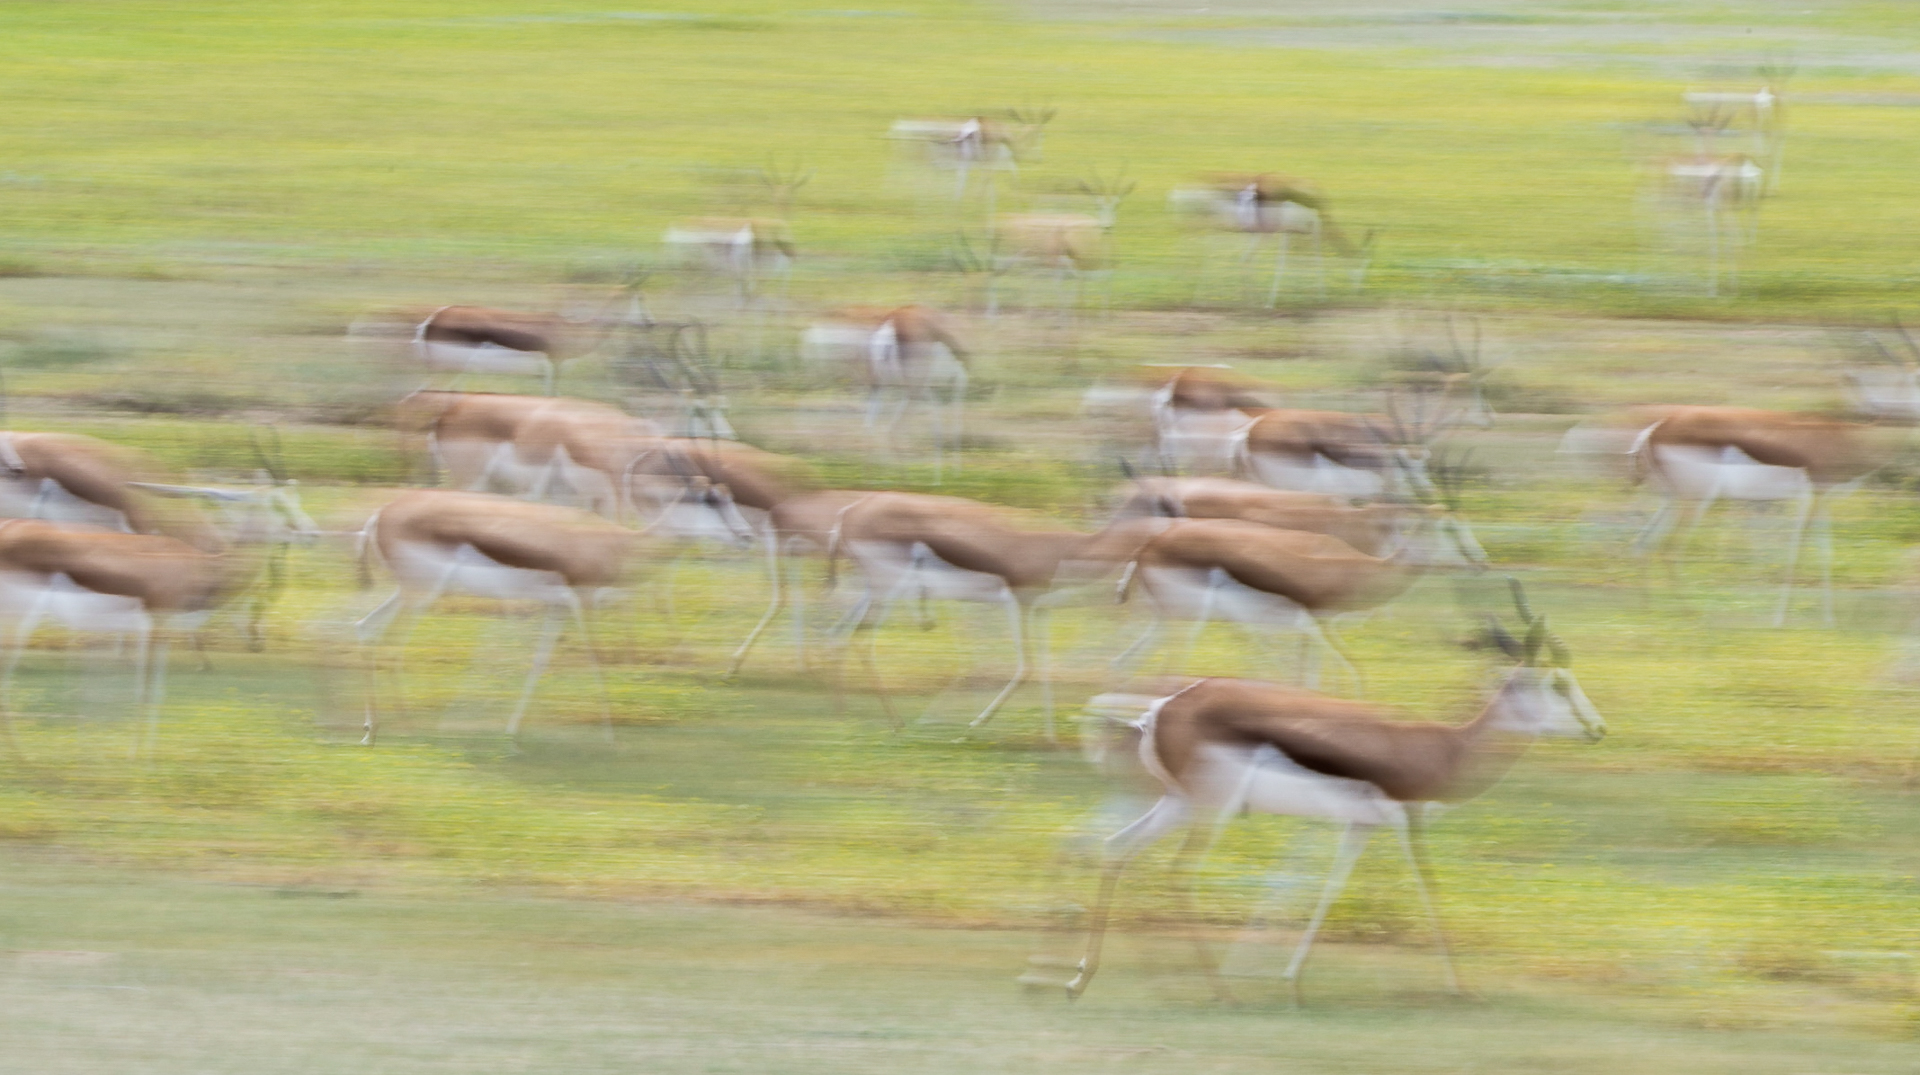
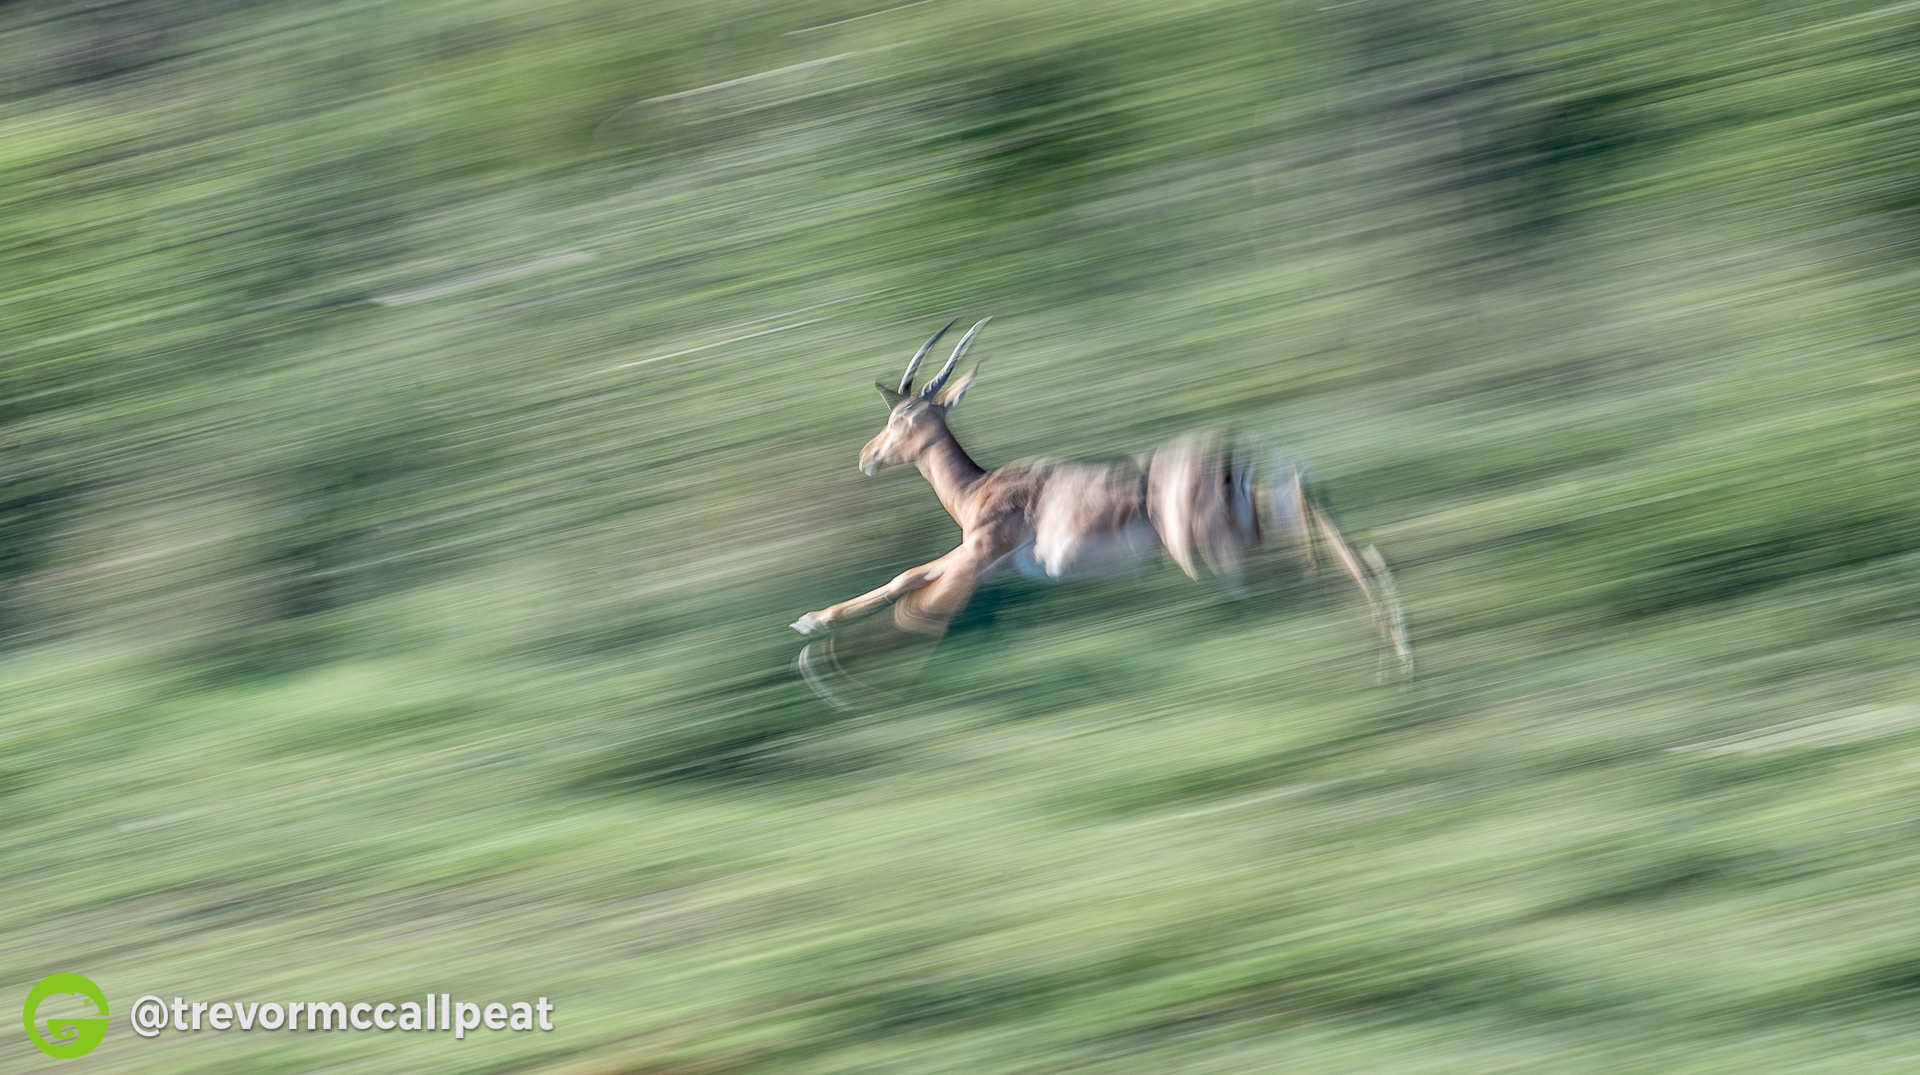
For the best results, try panning when your subject is moving directly across you and not towards you or away from you. The tricky part is you need to move at the same speed as your subject(as smooth as possible) while firing away on your shutter button. The beauty of this is that you are not looking for a pin sharp image, you are looking to blur the background and show off the movement of your subject.
It is quite difficult to do, but the results can be very rewarding. You may take 10 images in a sequence, but you are only looking for maybe 1 or 2 to stand out and show off the desired effect.
Quick summary:
- A long shutter speed ensures blurring of the background, which shows your subjects movement.
- Follow your subject with as smooth a motion as possible.
- Follow your subject from start to finish while pressing the shutter to avoid missing the shot or jerky motion.
- Practice, practice, PRACTICE
- HAVE FUN!


Radial Blur
Radial Blur is very similar to Panning except very different. The settings are roughly the same so I won't bore you with explaining the same as stated above all over again.
The difference comes in the technique. What you are going for is creating a very different image that has, well its all in the name - Radial blur. How does one achieve this?
It is only possible with a lens that you can zoom in and out. Lets use a 100 - 400mm for example.
It also only really works on an animal which is stationery, unlike panning that needs movement.
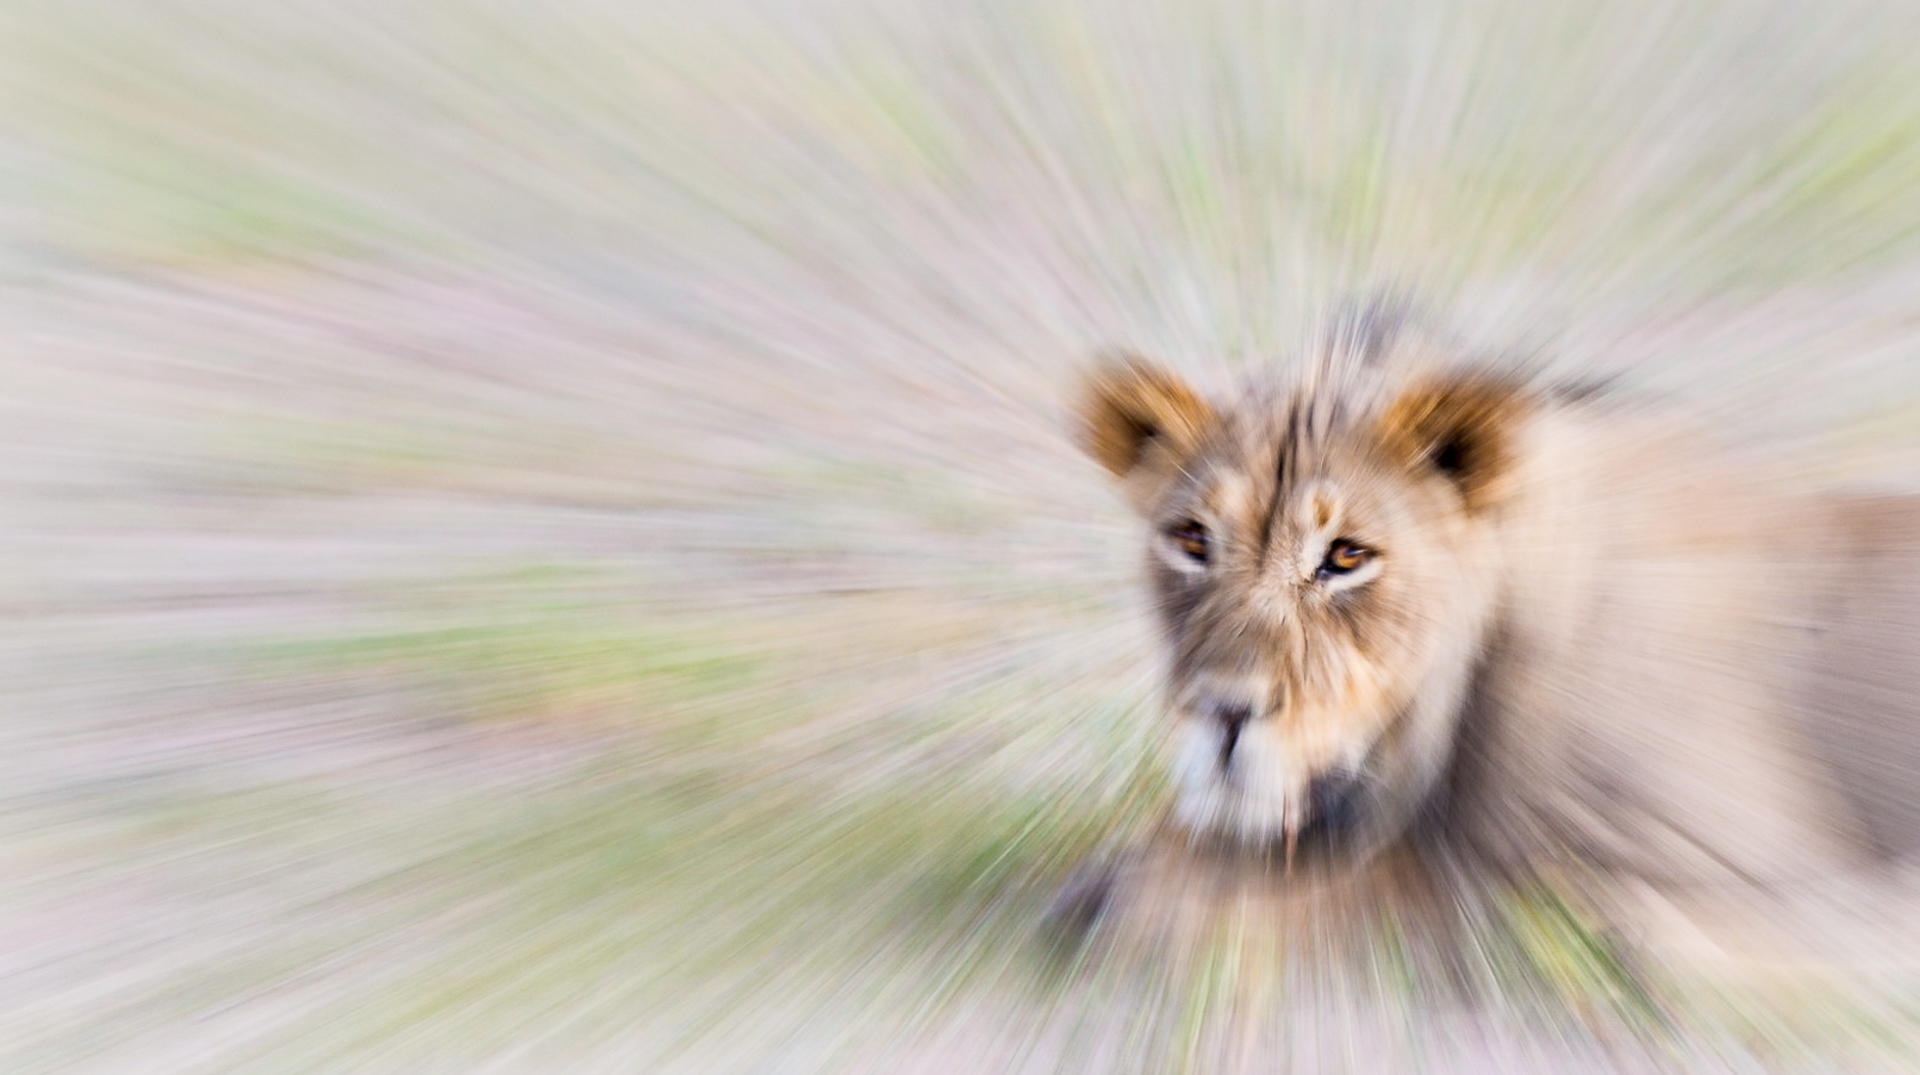
Once you are happy with your settings, zoom all the way into your subject(400mm). Focus on the part that you want the main subject of the image and then start snapping away, while doing this start turning the focal ring, pulling back, until you hit 100mm. Looking through your images you will get a feel as to how fast you should be zooming out to create the desired effect.
This is a VERY fun technique to play around and the beauty is you can do it at home or in your garden, in fact I recommend you play around with it at home before taking it out to test in the field.
Take a look at the examples below.

I really hope you found this helpful. Please feel free to get in touch should you need any further assistance.
Until next time, Happy snapping.
Trevor
