One of the biggest problems I encounter on photographic safaris is finding Lightroom catalogues in a mess and very difficult to find images or perhaps the process in which some people use to get images into Lightroom and to start editing can takes ages! I really urge guests to make their download, back up and storage process super quick and efficient. I have found that if its and arduous process or a long complicated process then you are stealing editing time and in some cases you are stealing motivation to edit and perhaps even creativity because all of your energy is spent on trying to fix your catalogues and hard drives and by the time you are "ready" to edit you are probably over it or being called away for another activity. You should have a plug and play system so you can get stuck into editing ASAP.I am very much of the opinion that you shouldn't take more than 5 minutes to begin your download into Lightroom after a shoot.
In this blog and podcast I am going to go through my process in downloading, backing up and editing. Remember, that as a photographic guide, we must be with guests majority of the time and cannot afford to sit and download, sort or even edit. This is not the only way to do things but I figured that you could either copy my method or perhaps use it to fine tune your current method. Either way I hope we can speed up the process for you and get you editing in not time at all.
First things first lets chat about the equipment that I use...
- I have a Macbook Pro
- A 1TB SSD External Hard drive. This is my 'working drive'
- WD Elements 2TB HardDrive as a 'back up' drive
- SD Card Reader and Multi Port Adapter. This is an adapter to allow me to plug in all hard drives and SD card as Macbook pros no longer have the traditional USB inputs.
So this is what I travel with. Your set tup may look a little different and not to worry if it does. The most important thing is to have 2 hard drives (one as a working drive and one as a back up drive) and an SD/Card reader that you can simultaneously plug in. In other words, plug all 3 units into your laptop at the same time.
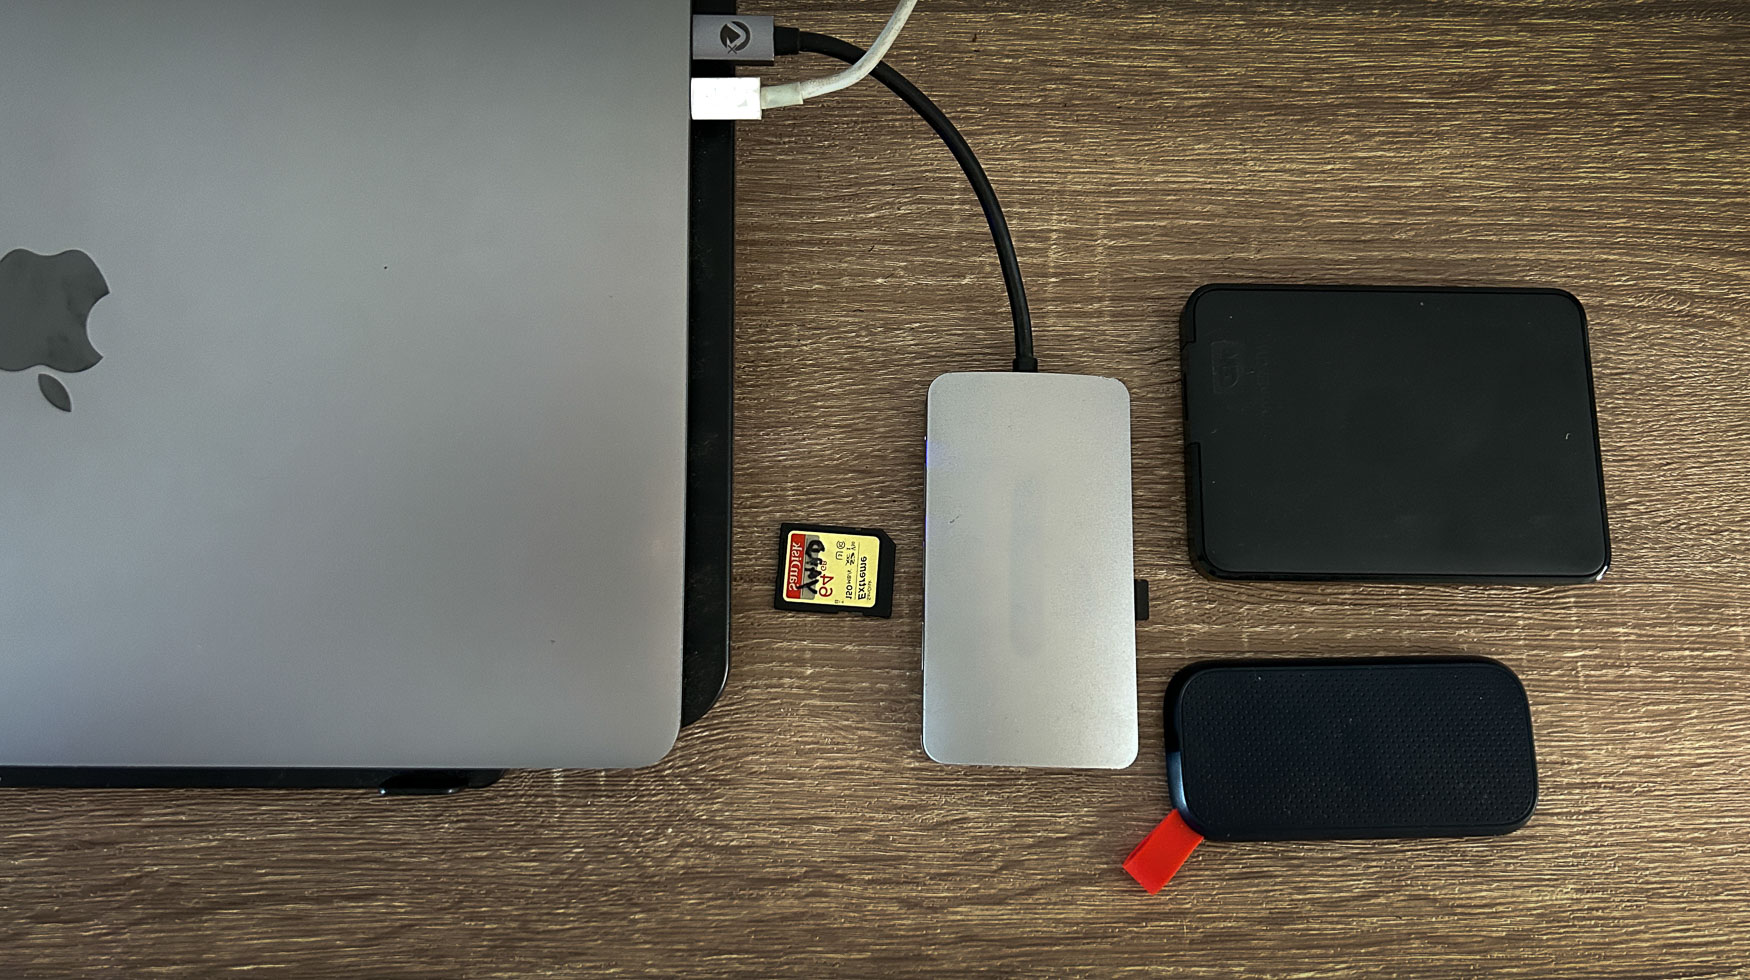
With all 3 pieces of equipment plugged into my Macbook, I open myLightroom Catalogue.
*** I know there is a lot to be said around whether you should use one master catalogue or a seperate one per trip however in my case and in this example we are going to use only one Master Catalogue.
I click on the import button at the bottom left window (sometimes the import box automatically opens)
This is where I will set up my import and the beauty of this system is that I only need to do this once (most likely).
On the left column I select my source which is going to be my SD card. Lightroom will begin to learn these different cards over time so it may open automatically in the future.
In the preview window I see your images appear and I use the 'Check All' button at the bottom of the window to select which particular photos I want imported which in this case is all of them. I click on 'open subfolders' if they don't appear or check that I have the correct parent folder of your SD card/Card selected.
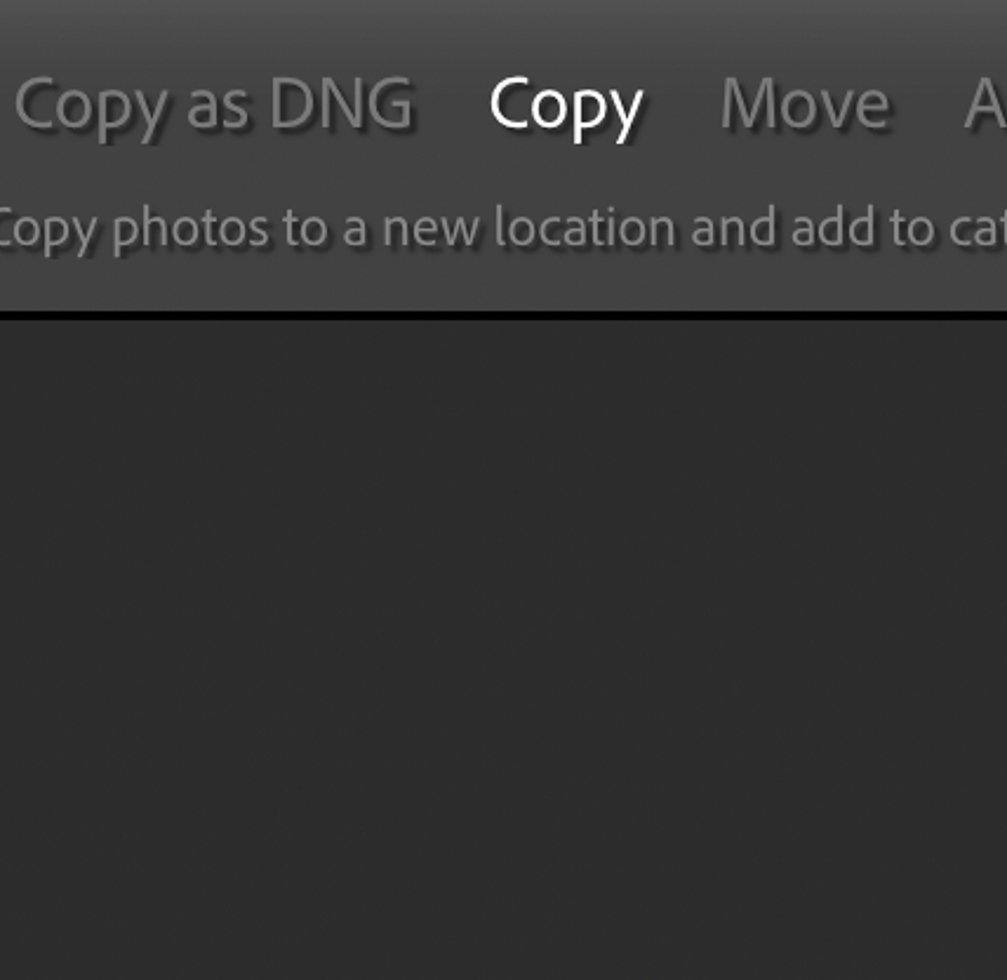
Above the preview window I see options of how my images are to be imported. I strongly suggest using COPY. The reason being is that if something were to go wrong during import so shortly after you still have your images saved. Just below these options I select 'New Images/Photos' if you only want to see the new images you have taken on the card. Lightroom will be able to look into your hard drive and see whats already been imported and then will grey out or not preview these images so long as you have selected the 'Dont Impot Duplicates' box (explained more in a short bit).
Now on the right hand column is where the 'business' end is for future imports.
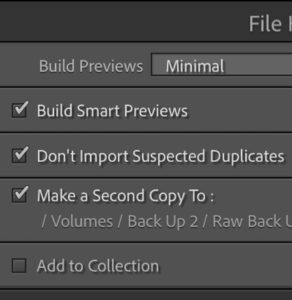
I select to Build Smart Previews and I tick this box. This is because it helps with loading the images faster when editing but also acts as a small back up. If you lose your hard drives then you have low quality smart previews to fall back on. Not ideal but hey... its something...
I then tick the 'Don't Import Duplicates' (heres the step we spoke of earlier) box because this will discard import on any duplicate images. This is a life saver and a space saver so I strongly suggest you do it. Later on I will explain how I rename my files and if I follow this discipline I find that I will never have duplicates again and this helps me a lot when trying to locate files in the future. In the past I have seen some horrific duplications (I am aslo a victim of this horror story) which have wasted both space and time and we would really want to avoid this.
I don't choose the 'Add to Collection' box as this is something I tackle later during my file sorting.
This step is another important step that I follow to assist me with a back up and to save time. I select the the 'Make Second Copy' box and use the drop down arrow to choose a custom location for my back up. This process will duplicate the files that I am importing and send them to my back up hard drive. It will sort them as YEAR - MONTH - DAY so which ever parent folder I choose, Lightroom will make these subfolders within my selected parent folder. This will make my import longer, however it is crucial that I make back ups of all that hard work we put in in the field. Once the import is done, I will have well imported files, smart previews built and a back up done. All in one swish of the sword.
But I don't push Import just yet... Theres still another few important steps to follow.
The next step is the 'discipline' step that I spoke of earlier. I call it a 'discipline' step because I force myself to apply this to all and any file naming so that I will never have an issue with duplicates and my file organisation will be a well oiled machine. The format in which I save my files is DATE - FILENAME. I made the mistake once of custom naming my files and this led to confusion and frustration as I couldn't stick to a formula when naming them and I found it took time and effort to rename and remember a whole bunch of things. Anyway, an example a file name imported like this will look like: 20221311 - IMG_3456.CR3. I shoot with a Canon mirrorless so my camera uses CR3 (don't worry if you get another file name such NEF for Nikon, these are camera specific). So as you can see this image has an ID number which is 3456 and that is searchable and it was taken on the 13th of November 2022 which is also searchable. In order for me to have any chance of duplicates I would need to take over 10000 photos in one day which is most unlikely. So I click the 'Rename File' box, click the drop down arrow and choose DATE- FILENAME. I leave extensions as lower case but this is neither here nor there.
The next box would be where I would apply import presets or settings. This would be up to you and perhaps a separate blog in itself so lets leave this for now as this isn't as important as the other steps.
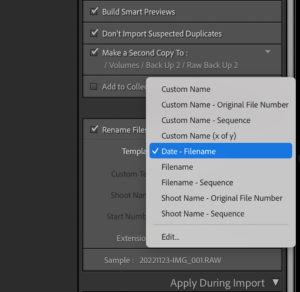
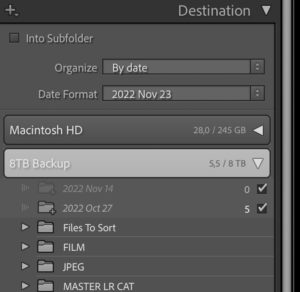
Last step... Firstly I choose my folder structure. I don't worry about clicking put into subfolder because Lightroom already does a great job of this. I choose the folders to be sorted by 'DATE' and then I choose my date format. I always choose YEAR - MONTH - DAY as this is easily recognised by all computers and sorting systems so I follow through with this format throughout my process.
You will see little white check boxes appear in the right column showing you where the files are going to be stored. If you are happy with this then you are ready to export. If not , then click on the parent folder or any folder you wish for the images to go to and then wait ot see if the white check boxes are in the right place. You are ready to import :)
*** Important tip - Wait for the numbers in the white check boxes to stop counting upwards before importing. Give it a minute or so to make sure Lightroom has seen all the images you are wanting to import. When the numbers have stopped counting upward you are ready to go.
So my import now begins and yes, this does take longer than usual but remember that we are backing up and building previews at the same time so Lightroom is taking care of all the nitty gritty stuff in the background. I then take a bit of time and edit some shots (normally the best ones) and then when I am home I begin my deletion process. Once my images are cleaned up I move them all into one folder (I do this in Lightroom itself) and rename that folder accordingly so that I dont have hundreds of subfolders for the day by day stuff. If thats something you would like to keep then hey by all means do so.
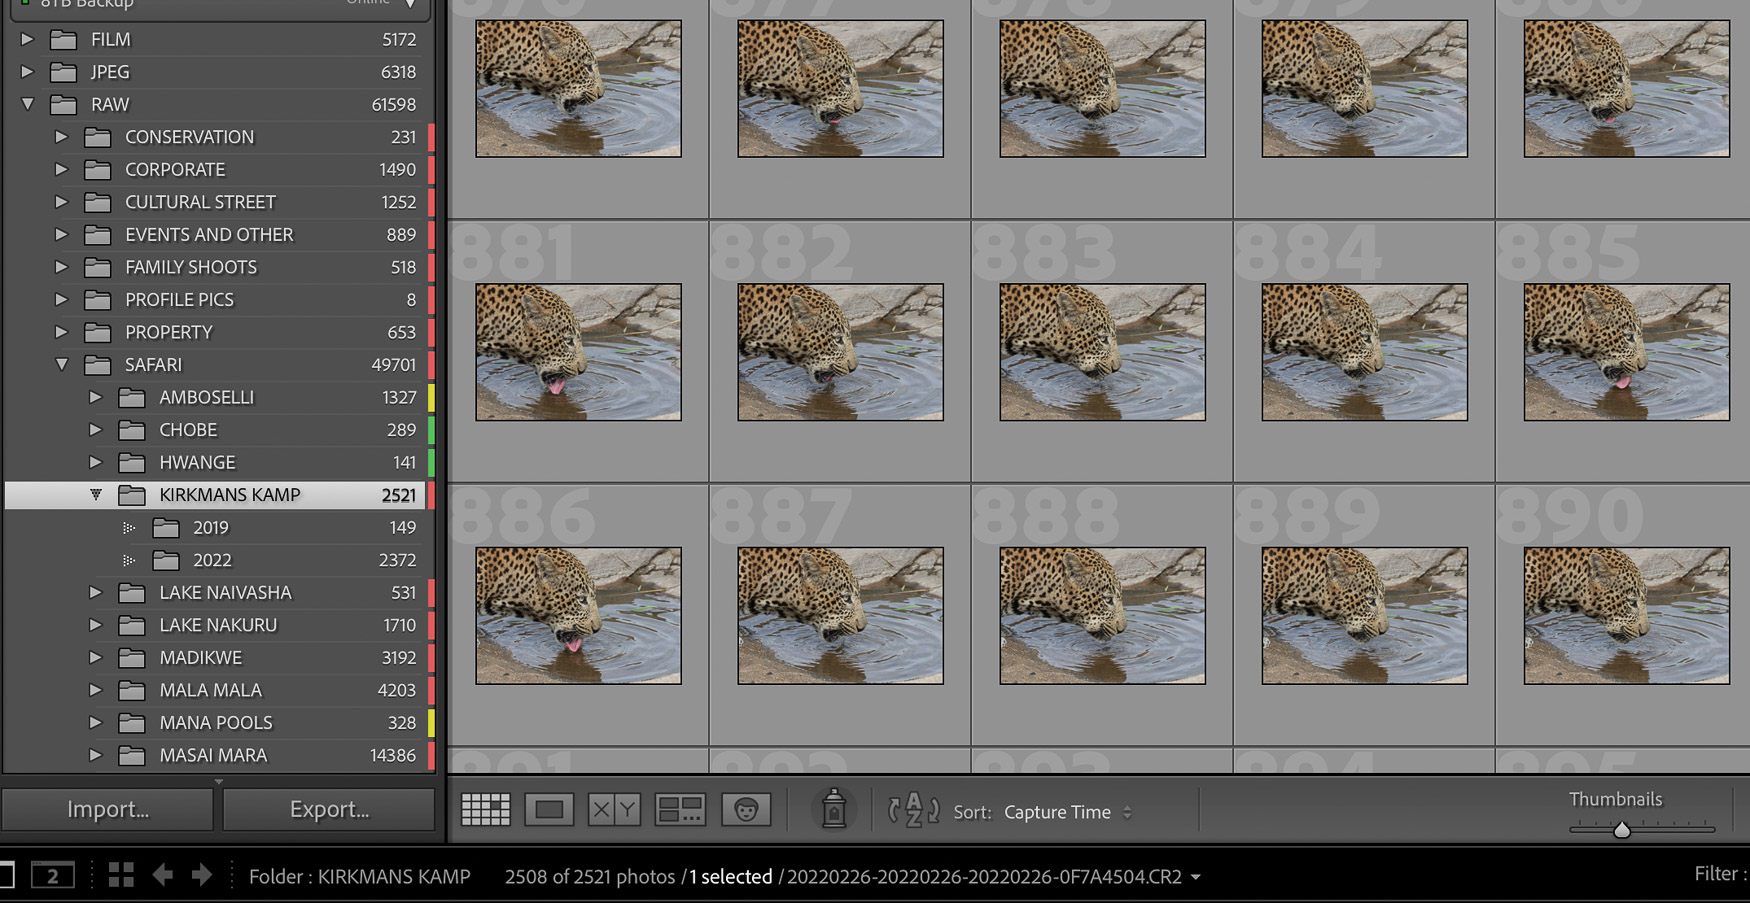
I also have an 8tb hard drive at home. When I get home I use Lightroom to copy across my edited, labelled and sorted images into the 8 TB hard drive. I can then clean up my SSD (working drive) for the next trip. The 8TB hard drive is automatically synced with a cloud service so everything gets backed up once again. Talk about over kill but.... It makes me sleep that little bit better. haha. Jokes aside you may not need to go as far as I have but its good to hear other peoples methods. So, I hope this helps!
Matt
Lightroom Shortcuts - Improve your Lightroom Game
The Ultimate Elephant Safari
By far one of my favourite itineraries and in this blog post, Trev captures exactly why I love it so much. One I am hosting next year and simply cannot wait.
