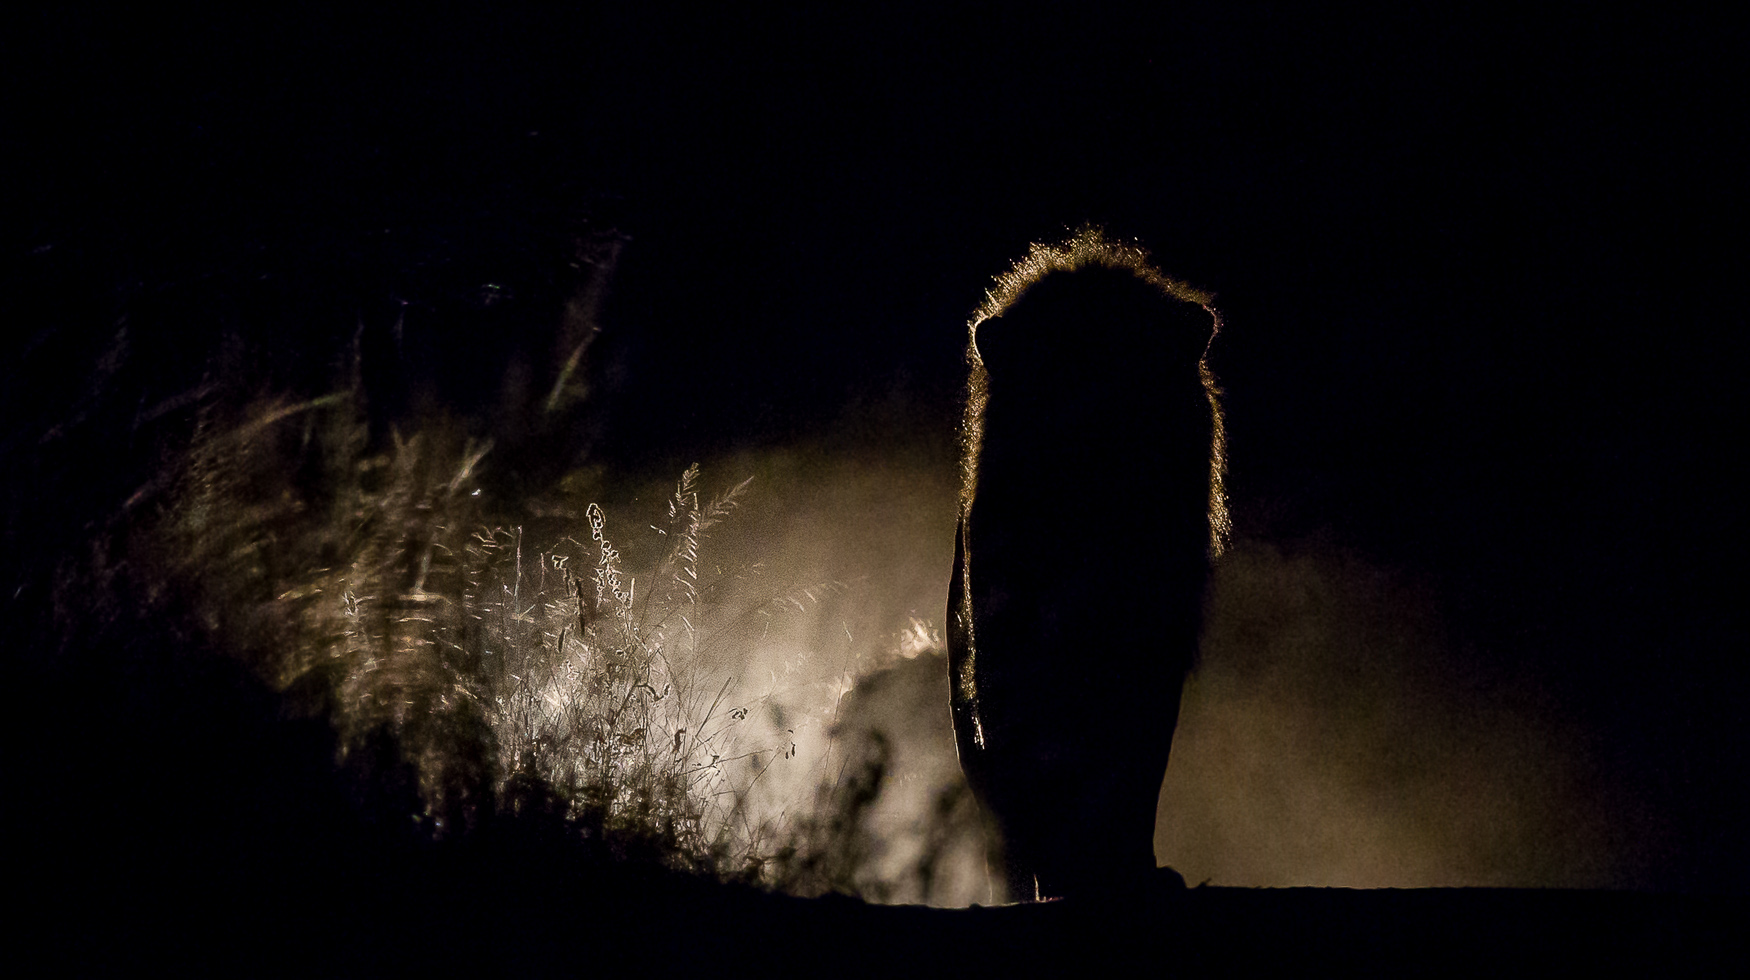
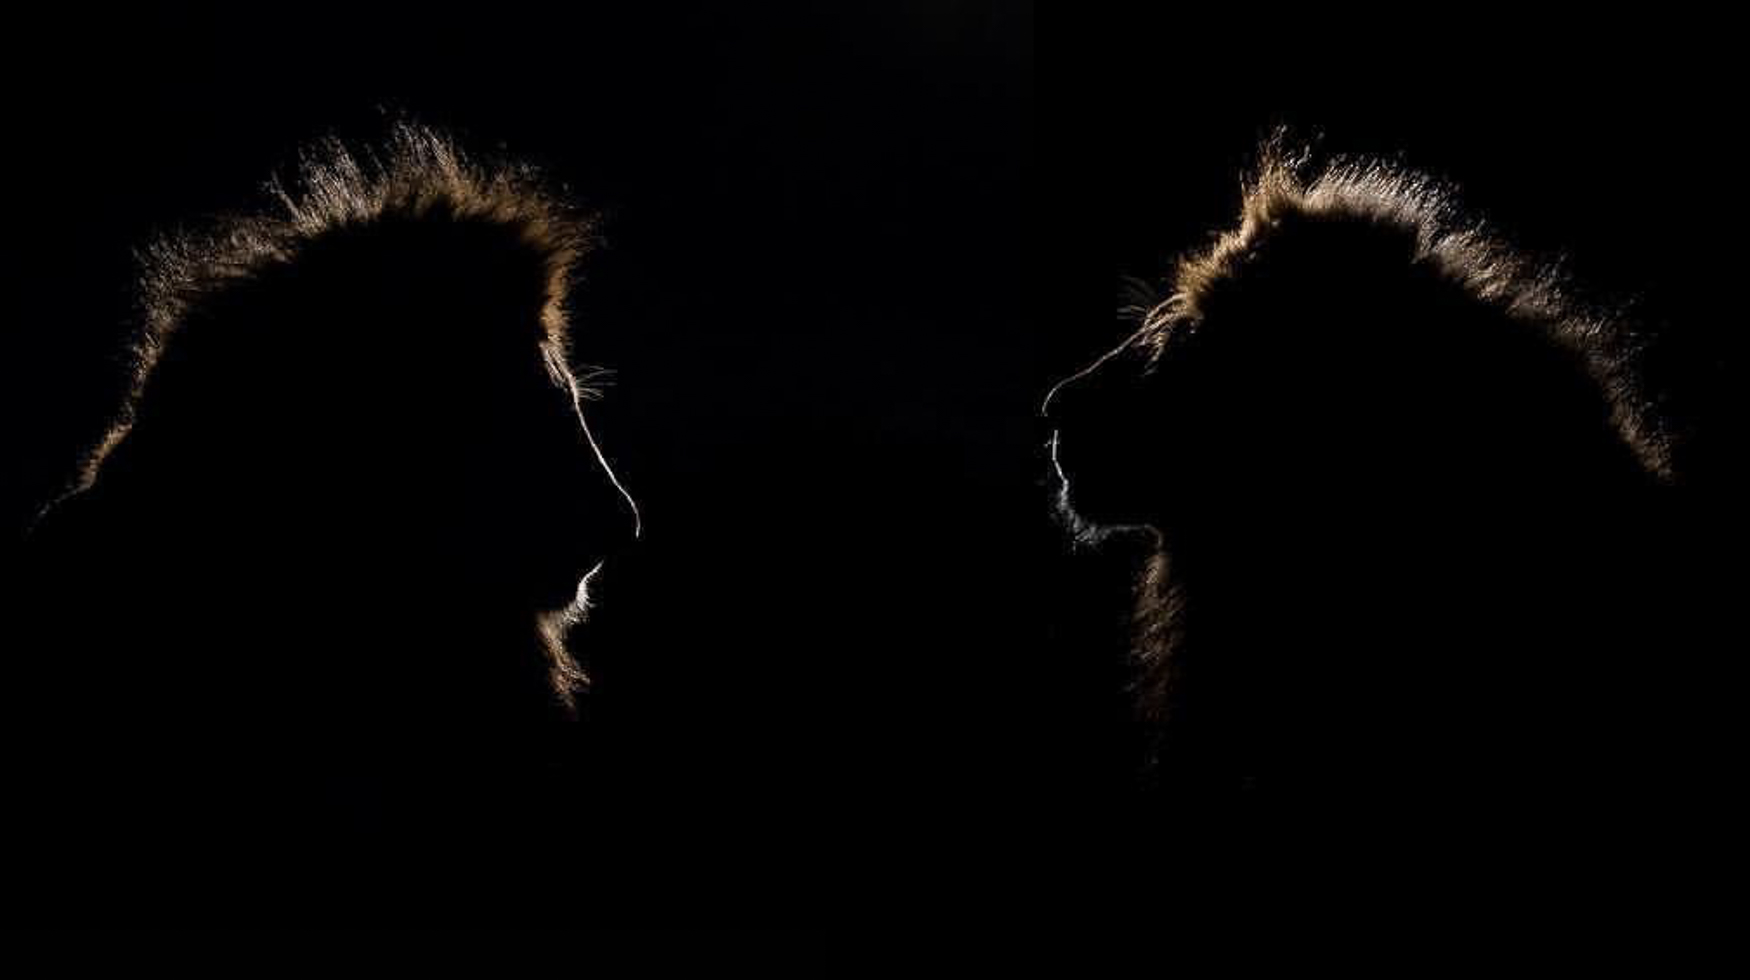
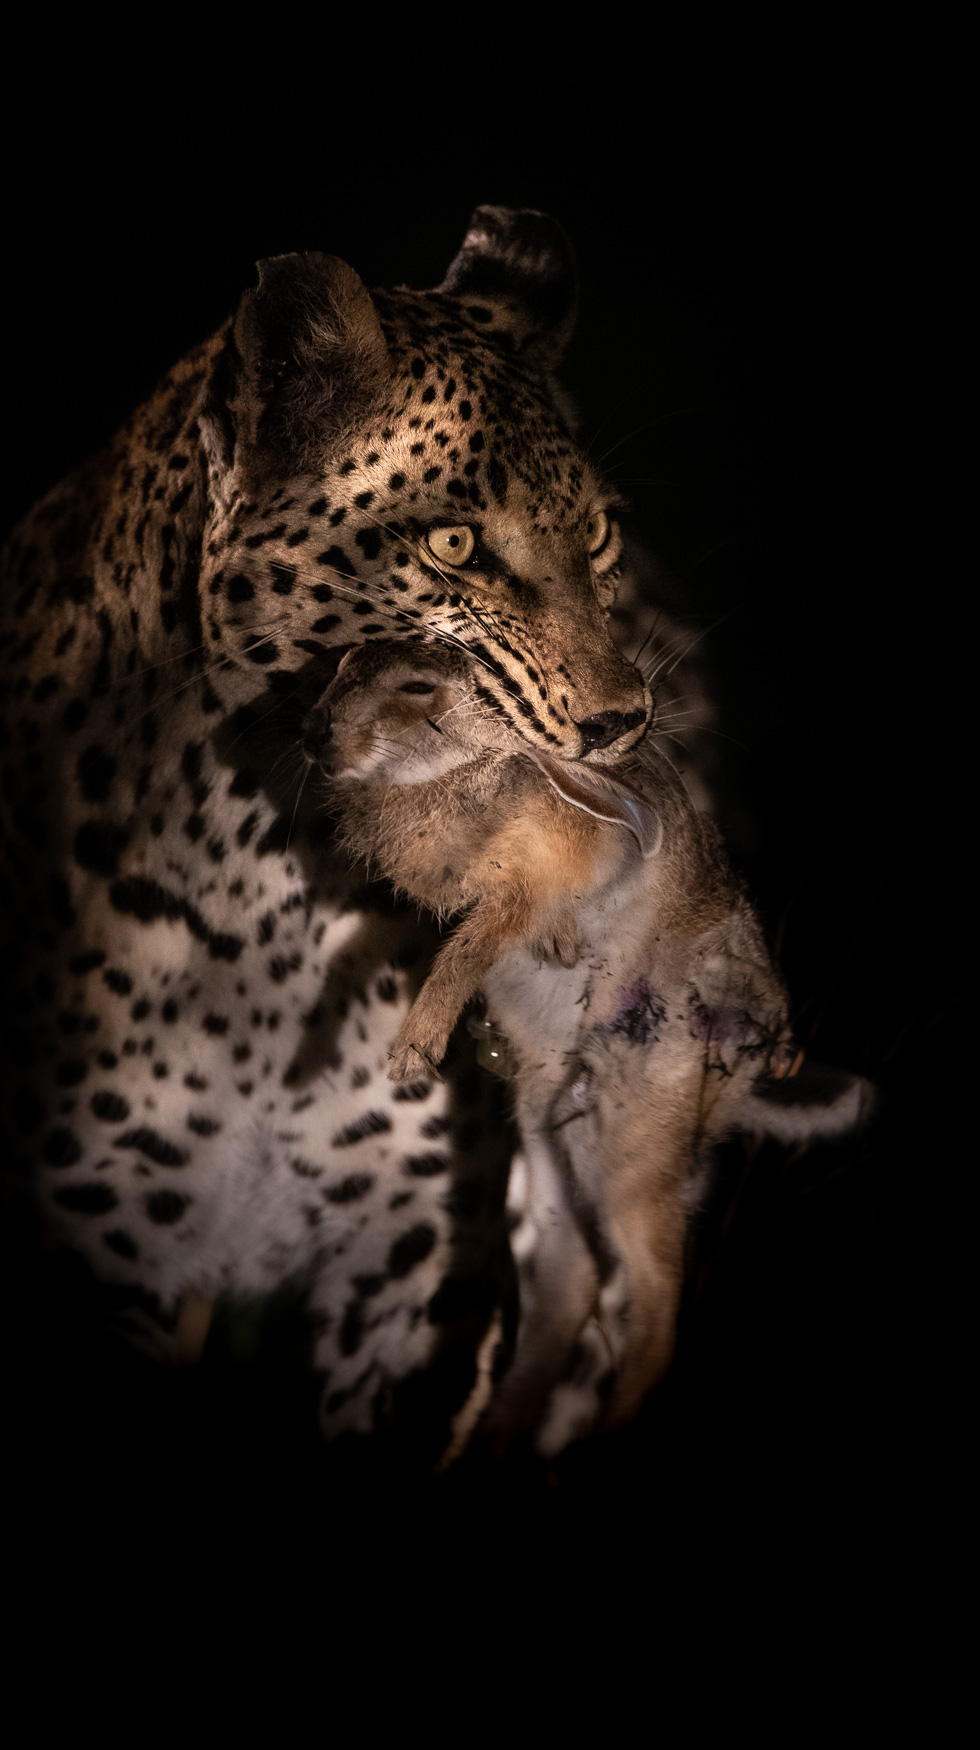
This is a topic that always has plenty of discussions around it. On my recent safari my guests and I discussed it, how to use the spotlight to your advantage, what the camera settings should be and how to manipulate your camera in different situations while using a spotlight to get the best results.
For many photographers, when the light starts to fade and the sun begins to set, they put their cameras down and head back towards camp. For many of us photographers, we fall into our comfort zone, we enjoy photography and are reasonably happy with our results, but why settle for reasonably happy? When you can be thrilled with your results?
I have mentioned this on many occasions before and I will say it again - The beauty of photography is that there are no rules and each one of us has a unique eye and approach to photography. This uniqueness should be cultivated and constantly pushed to better your photographic ability and become a better photographer.
When it comes to spotlight photography, it is no different. I know the thought of photographing subjects at night can be a daunting one, but it is not one that should intimidate you. As mentioned above, it is all about learning and pushing yourself to be a better photographer, increase your knowledge and improve your skill set.
I don't want to confuse you all with a bunch of numbers and explanations, but I believe that in wildlife photography, we should always control the elements that we can as there are so many external elements that are out of our control. Sounds silly doesn't it? But, it is all about getting the basics right.
I always try and prep my guests as to what settings they should be using at different times of the day/night and why those settings are necessary. Its not to say that these settings are 100% correct, but it gives you a good starting point and if there are any settings you need to change, they will be minimal and you as the photographer will save valuable seconds that can make all the difference.
Settings for Spotlight Photography:
There are 2 different ways to achieve good results at night.
The first is by using Av/A - Aperture Priority mode. This is the mode which I use for 80% of my photography. It allows me to manipulate my camera and make changes according to the shutter speed my camera is giving me. When I hold the camera up to my eye, the first thing I look at is the shutter speed. The understanding behind the exposure triangle(Iso - Light sensitivity, Aperture - Depth of field and Shutter speed - amount of light entering the camera) is crucial in getting the most out of your photography.
The second is full manual, this allows me to have complete control of every setting. When I am shooting on manual there is not a lot of room for error, however it forces you to think more about the kind of image you want to capture. I do this by assessing how far the subject is away from me, the strength of the spotlight, the angle of the spotlight and if my subject is moving.
So here is a great starting point and two examples for you to try next time you find yourself out in the field...

AV/Aperture Priority Mode
ISO - 1600 - 2000
F-Stop(aperture value) - F4 The lower the better.
Exposure compensation - negative 2 full stops - 2 full stops UNDER EXPOSED.
Metering mode - Spot metering(utilising all the light possible to best effect)
For both modes, I find the best thing to do with White Balance is to custom the kelvin to about 2900, this will give your image a much more natural feel to it. Yes, you can shoot on auto white balance and change it afterwards, but I believe that whatever you can adjust in camera to get your desired result should be pursued.
This is the safer method to be using as the shutter speed will automatically adjust to the correct exposure whether the animal is stationary or on the move, which means it is one less thing for you to worry about.


Manual Mode:
ISO - 1600 - 2000
F-Stop(aperture value) - F4 The lower the better.
Shutter Speed - 1/160
It is a bit more tricky to get the correct exposure as there are a few different variables that come in to play such as:
The brightness of the spotlight, how far your subject is away from you & is your subject moving?
The best way to get the right exposure is to play around with your shutter speed. If the animal is on the move towards you, have a shot in mind and a distance halfway between your subject and yourself. Set the shutter to 1/320 of a second and fire away. You will find that the first few and the last few will be to dark and to light respectively, don't be despondent, the shot you were after are the 2/3 in-between shots where the subject is perfectly exposed. Why did I recommend 1/320? It is a fast enough shutter to freeze your entire subject and eliminate the blur factor.
With both these methods, shooting in low light requires you to be as stable as possible. Either using a gimbal mount to the vehicle or use a bean bag to maintain stability for best results.
It is very much trial and error, but once you understand how each of your settings effect one another, you are well on your way to bettering not only your spotlight photography but your photography as a whole.
Try it! don't be afraid - Results just may surprise you...
ISO 200 - F2.8 - Shutter speed 1/320
ISO 1600 - F4 - Shutter speed 1/160
ISO 2500 - F4 Shutter speed 1\320
Just a short one from me this week, but wanted to give you all a starting point in your spotlight photography going forward.
If you have any questions on the above or would like me to elaborate more on something specific, drop me a comment below and I will gladly assist you where I can.
Until next time,
Trevor
What is the meaning behind your photography?
This is a topic that I often discuss with guests out on safari and I have mentioned it in previous posts as well. What is the meaning behind your photography? My journey started many years ago when I purchased my first camera and the reason I bought it, was to remember moments, freeze moments in time to look back on one day and be able to relive those special times.
Why did you begin? What is the reason you take photographs? How often do you go through some of your old shots? Have you asked yourself any of these questions?
Challenges new photographers face
There are many challenges new photographers will face along their journey. This too will be the case for your more seasoned photographers as facing challenges is simply just a part of life.
Where is the fun with no challenges right? Challenges are opportunities for growth and development. This too can help build resilience, increase self-awareness and create a sense of purpose and accomplishment.
Photography is both a challenging and rewarding pursuit that requires creativity, technical skill; which can be learnt, a lot of practice and most importantly, patience. In saying this, even the most experienced photographers can struggle with certain aspects of the craft.
