Now that we have been able to achieve autofocus on our subject and have selected the correct aperture to ensure that the we render our subject sharp and in focus, there is really only one other variable in the equation that can go wrong - Shutter Speed.
Quite simply, shutter speed refers to the duration that the shutter/mirror inside the camera locks up and allows light to pass through the lens (and your resultant aperture created by your F stop value) and onto the camera's sensor.
Here's an example of what happens when you compose and then trip the shutter mechanism by taking the image on a Mirrorless Camera vs DSLR Camera.
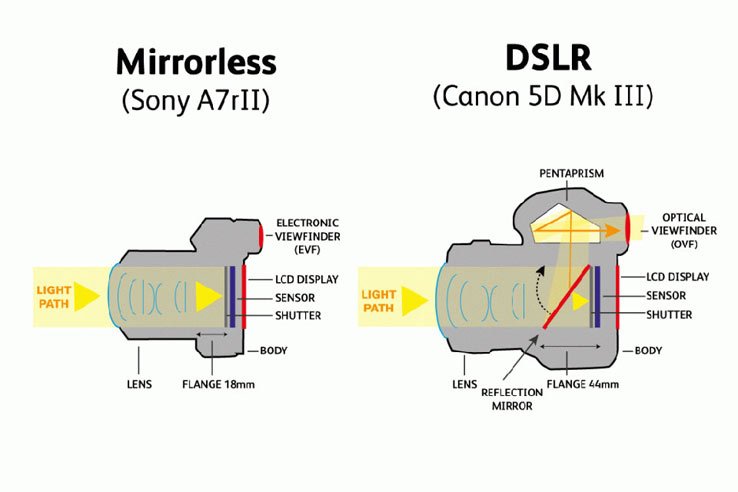
This time or shutter speed is typically only a fraction of a second, sometimes as fast as 1/8000th of a second.
Our first goal with shutter speed is to ensure that we have a shutter speed value which is fast enough to eliminate the chance of our image being soft as a result of movement on our part. This factor is eliminated in most Mirrorless cameras as there is an in body stabiliser that prevents user movement contributing to a soft or blurry image. This is however referred to as camera shake and is very often the reason why many images, especially on DSLR cameras may be soft and "out of focus".
Your focus may have actually been spot on but there was movement of the camera which results in the image not being rendered as sharp as you would like. A general guideline is that your shutter speed should be at least one over your focal length in order to eliminate any chance of camera shake.
What does this mean?
If you're on a full frame camera (more about full frame and crop sensors later but let's focus here for now) at a focal length of 300mm your shutter speed should be at least 1/300th of a second to eliminate camera shake. The greater your focal length value (or zoom) the greater potential their is for movement and camera shake. Every extra bit of focal length just amplifies the slightest of movements originating from the camera body.
The second goal with shutter speed is to ensure that the shutter speed is fast enough to freeze any movement in our subject so that it may result in the final image being as sharp as possible despite the movement.
Larger, slower subjects will not need as fast a shutter speed as smaller, fast moving subjects in order to freeze movement.
A European Bee-Eater photographed at 1/2000th of a second
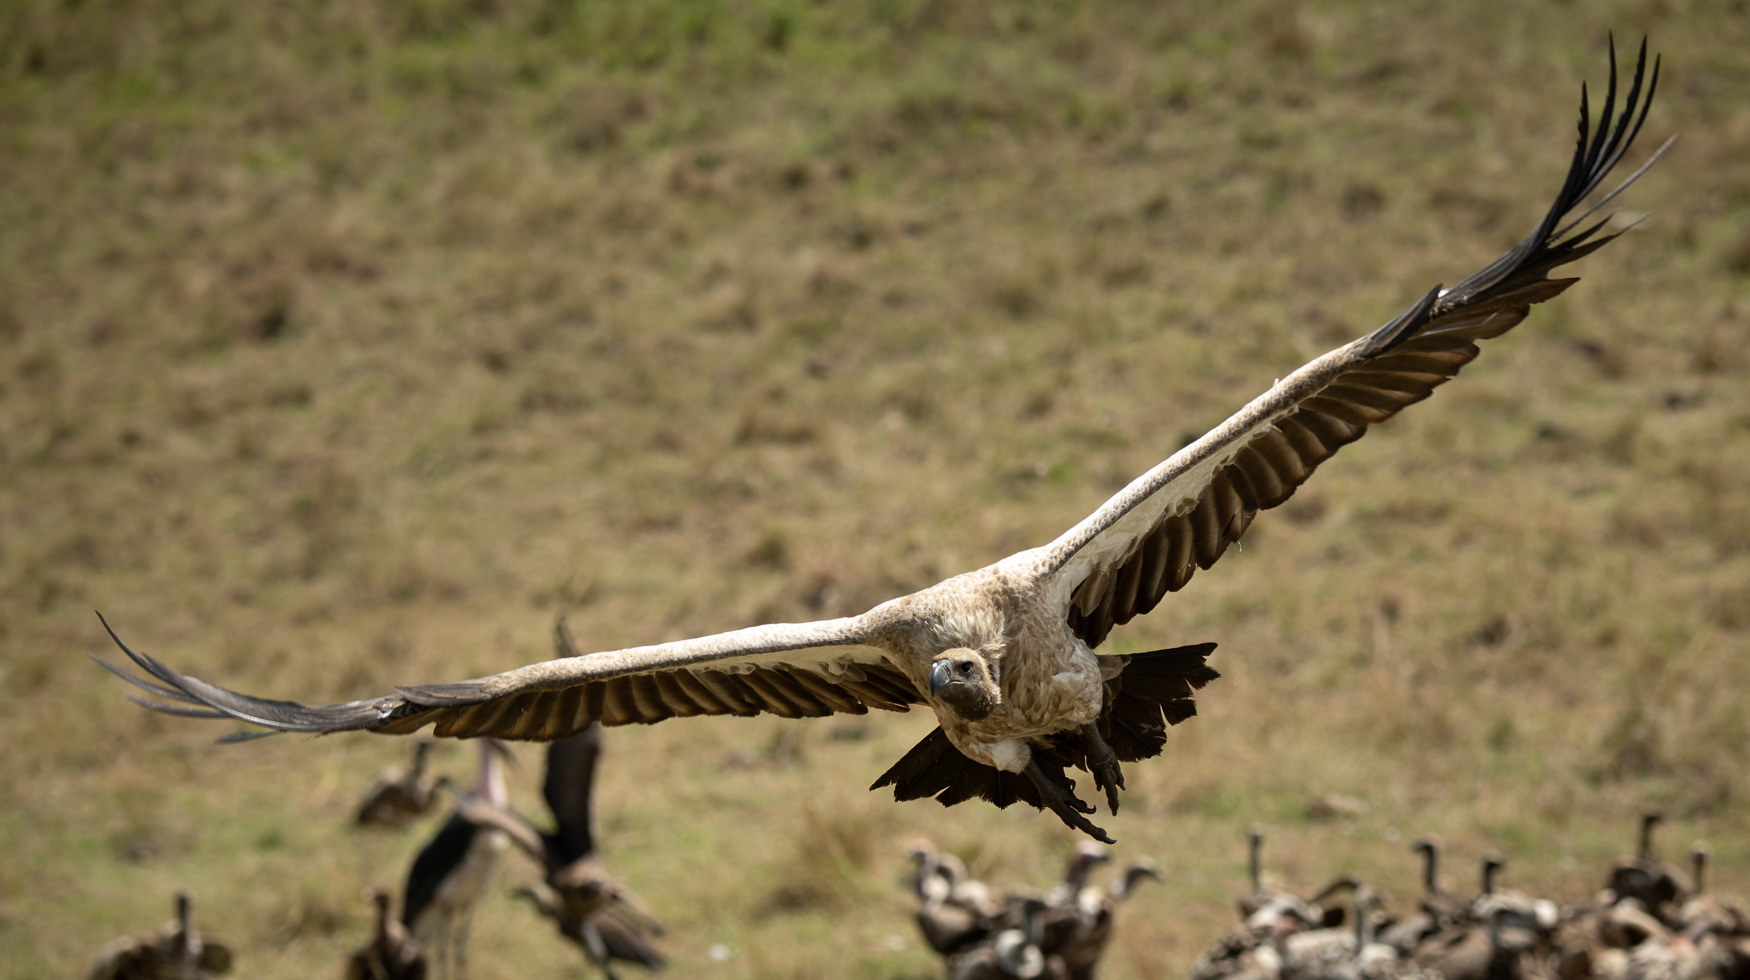
A vulture photographed at 1/1600th of a second
Similarly, a relaxed lion doing what lions do best - lazing around - won't require a very fast shutter speed as there is almost no movement.
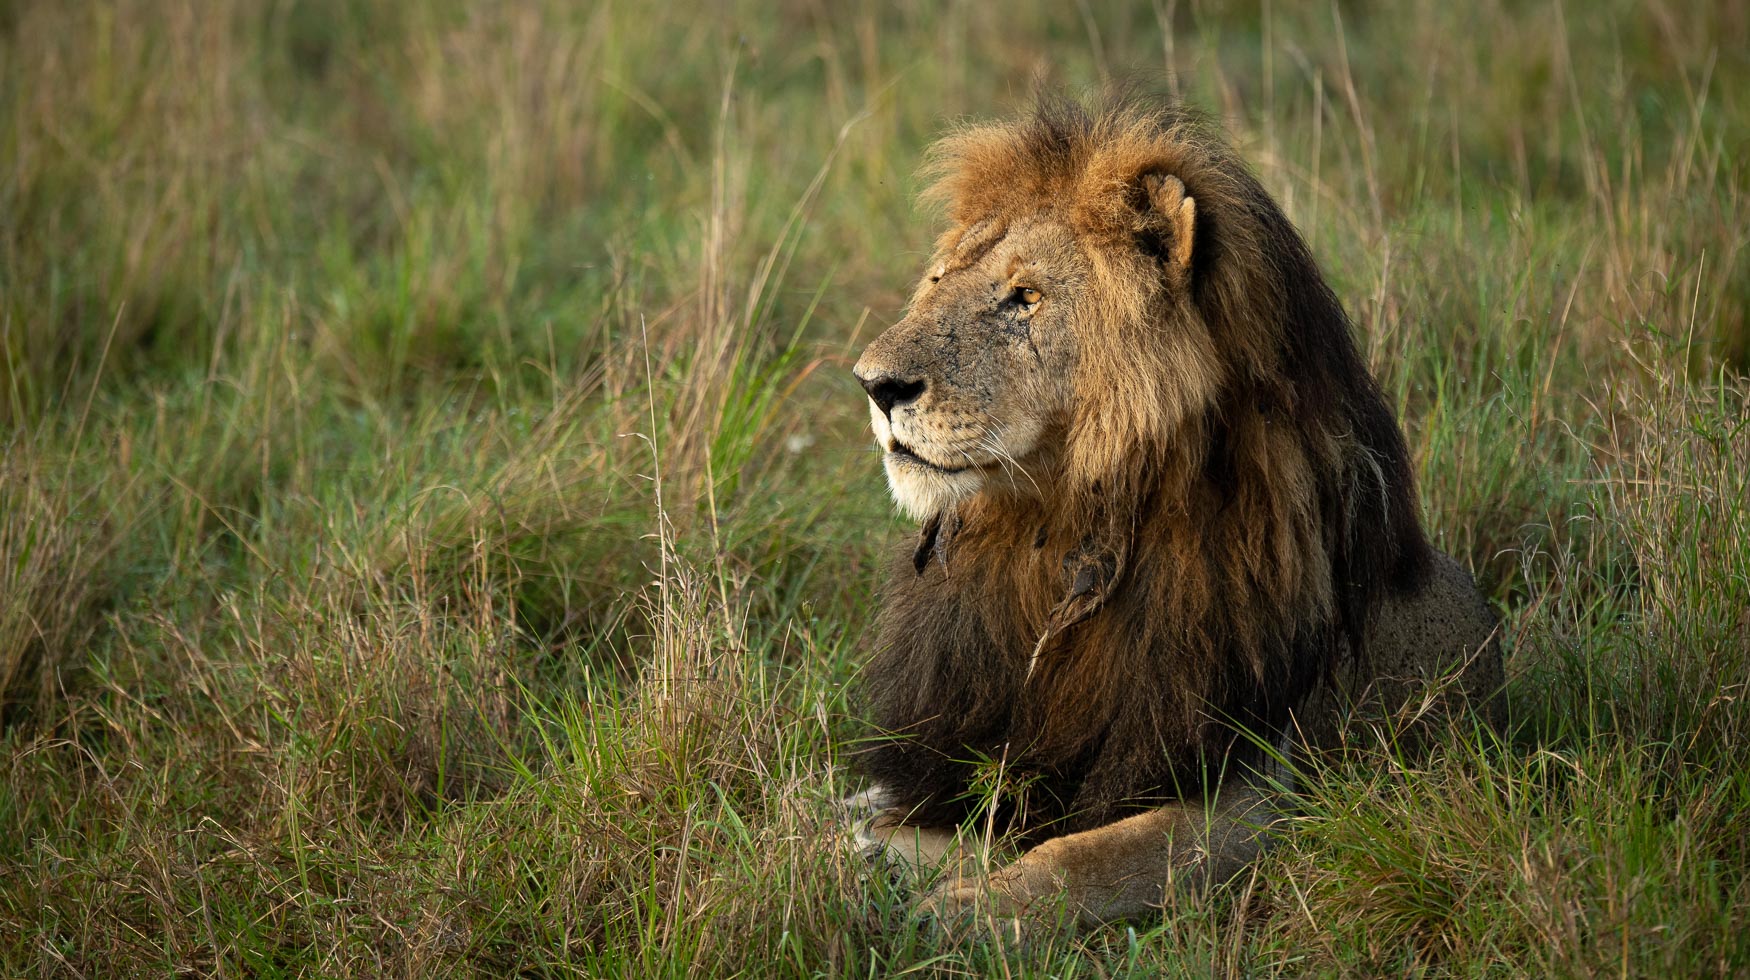
A Lion photographed at 1/640th of a second
Now, is it all about Fast Shutter Speeds?
NOT AT ALL.
Most of the time we are wanting to capture our subjects without any movement (either asa result of camera shake or their movement in the frame). However, this is not always the case and using a slower shutter speed to intentionally capture movement in a scene makes for interesting results.
The combination of slow shutter speeds and intentional camera movement allows us to "paint with light."
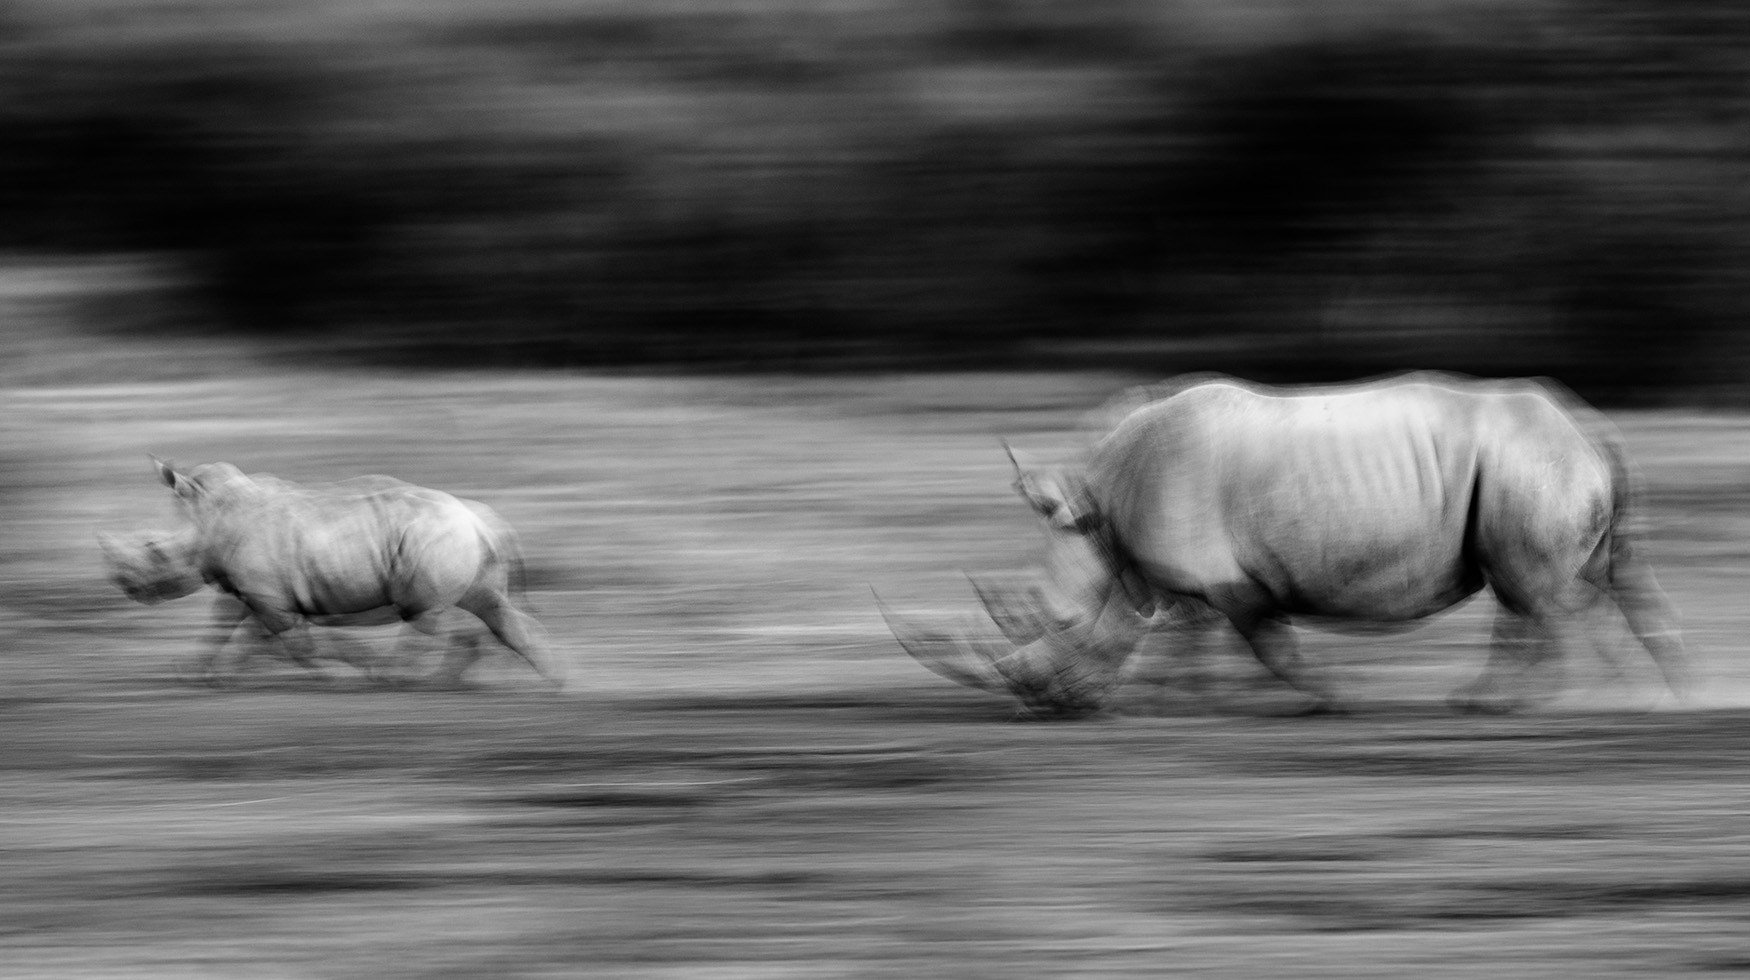
Rhinos photographed at 1/6th of a second
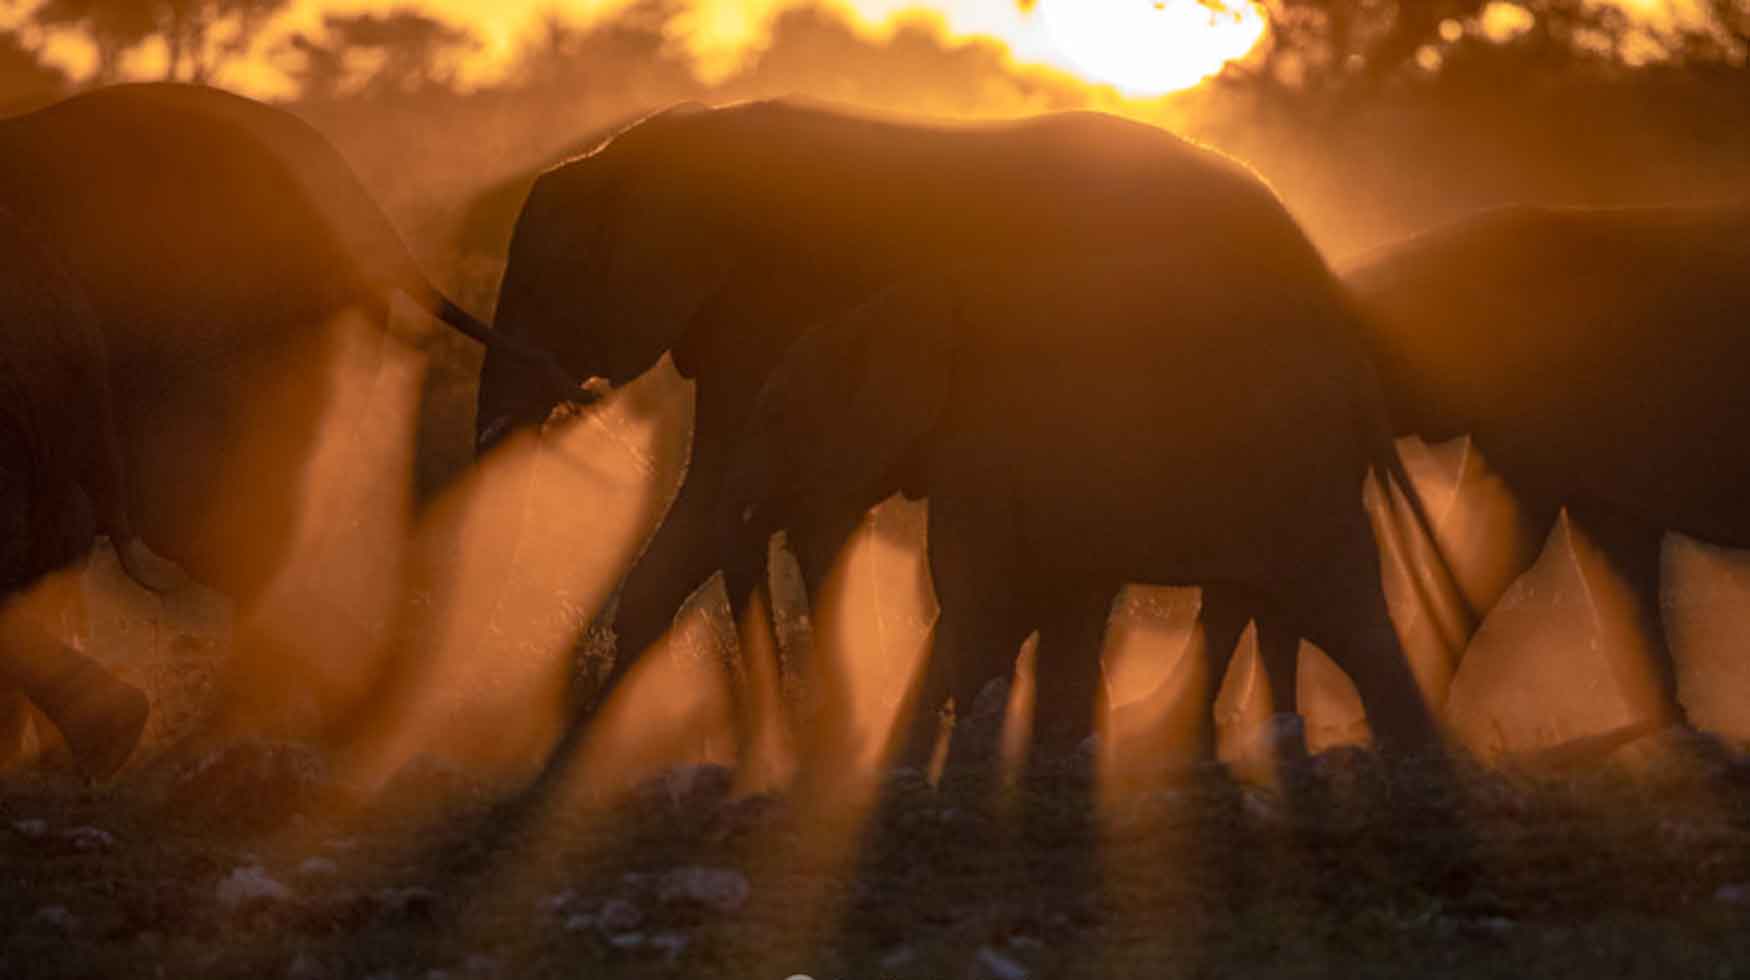
A herd of elephants photographed at 1/60th of a second
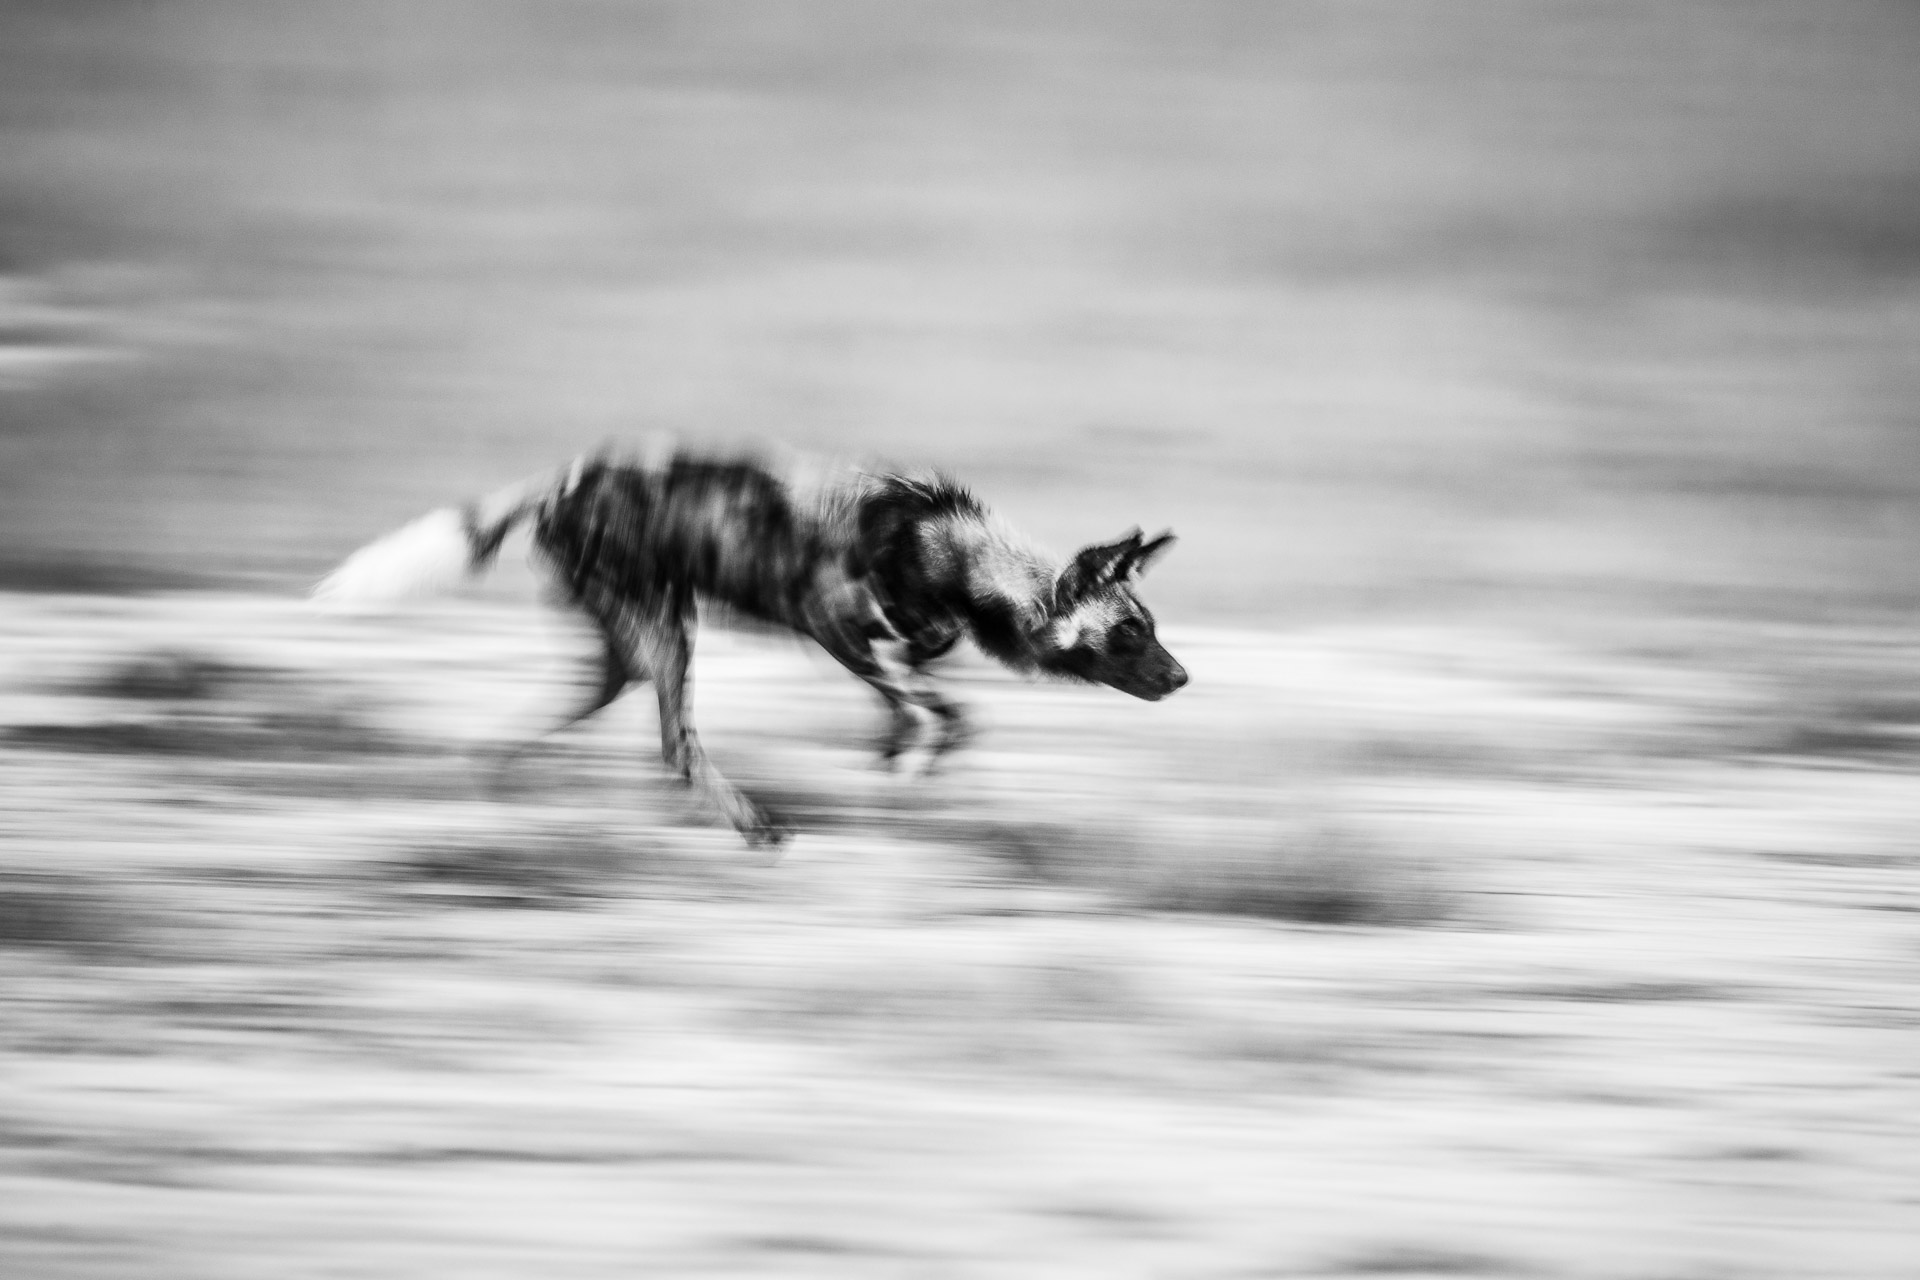
A Wild Dog photographed at 1/30th of a second
How Does the Camera Decide on a Shutter Speed
Assuming we are still in Aperture Priority (AV or A) the camera will, after you have dialled in your preferred aperture value, evaluate the scene and will decide on an appropriate shutter speed. Think of this as the Goldilocks effect.
The shutter speed that the camera uses is not random but rather based on evaluating the entire scene complete with its dark areas and bright areas and then deciding on a value which ensure that just the right amount of light is let through.
Too much light (too long or slow a shutter speed) and the image becomes too bright or Overexposed.
Too little light (too fast a shutter speed) and the image becomes too dark or Underexposed.
Just the right amount of light and we should have some detail in the shadow areas, the bright areas and the mid-tones (the region between dark and bright).
It makes sense then that in the early morning, late afternoon and at night, the camera gives you VERY slow shutter speeds. There is so little light available (even if you're shooting at your maximum aperture) that the camera has to use a slow shutter speed in order to allow enough light onto the sensor so that you can actually create an image.
Making sense?
But What if I Want to Take A Photo In Low Light?
Taking photographs in low light is tricky for most beginners. However, it is actually possible to capture a sharp image in low light and you have a couple of options available to you:
- Keep the camera and your subject VERY still. Not ideal for wildlife photography
- Use a flash.
- Increase your shutter speed.
How Can I Increase the Shutter Speed?
That's where ISO comes in and that will be the topic for our next post in the series.
What is panning & radial blur?
What is Panning and Radial Blur? Why would we want to do it?
Panning and Radial blur are photographic techniques which revolve around slow shutter speeds and movement. It requires a lot of practice and patience but is really fun to play around with especially when light is not on your side.
In this blog, Trevor McCall-Peat discusses the principle of these two techniques as well as share some tips and settings to help get you started.

